Hacking a Beesandbombs Sketch
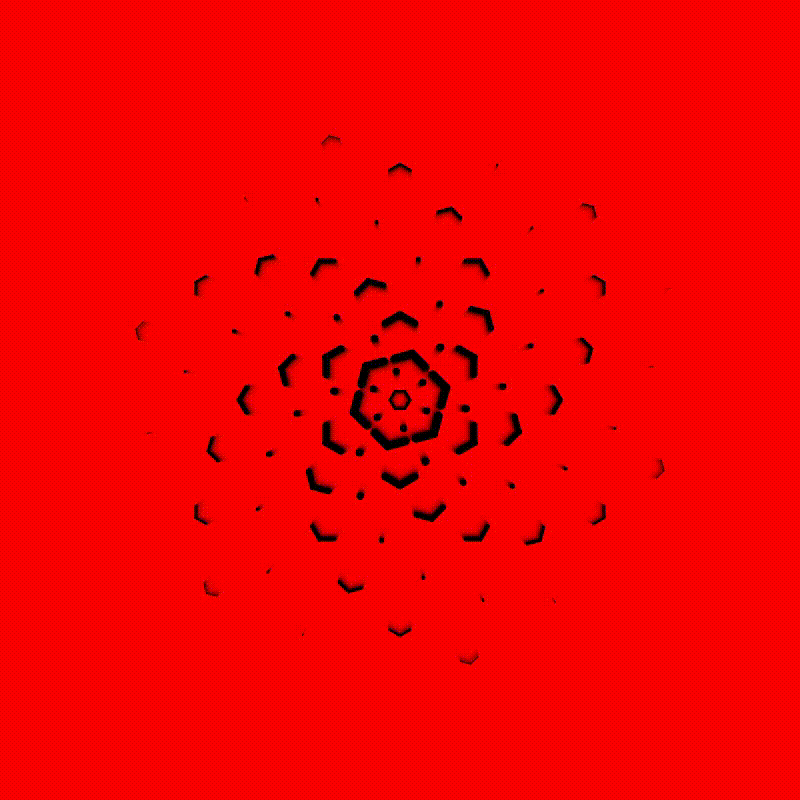
Everything that follows is inspired by a sketch from Dave Whyte (aka Beesandbombs), that I discovered through the Concinnus Twitter bot. Aesthetically the sketch is very simple, but geometrically there's a lot going on:
Discovery 35919 #gif #abstract #design #geometry #generative #retro #digitalart (via @beesandbombs) pic.twitter.com/6kBMs5nf94
— CONCINNUS (@concinnus) June 20, 2021
We'll be using p5js to recreate the sketch, and put our own spin on it. We'll break the sketch up into digestible portions and work from there! Quick index goes here:
- Equidistant Points on a Circle
- Infinitely Looping Points
- Multiple Sets of Looping Points
- Pseudo Hexagons
- Fading Strokes in and out
- Offsetting every other loop
- Aesthetic Touches

Equidistant points on a circle
The first thing we'll start with, is creating a set of points that seemingly appear in the center of the sketch, and then disappear at some distance from the center. And then re-appear and disappear again and again.
As always, let's start with some boilerplate stuff:
function setup() {
  w = min(windowWidth, windowHeight)
  createCanvas(w, w);
}

function draw(){
  background(220);
  translate(w/2,w/2)
}
Here we're just setting up our canvas in the setup function, to make it fill the size it has available. In the draw loop we're making use of the translate() function. Passing half of the canvas size to both inputs of the translate function will shift the origin of the sketch towards the center of the canvas. Basically, the (0,0) coordinate is now located at the center of the canvas, which will make dealing with coordinates a little bit easier along the way.
The next step will be drawing 6 points, that are located equidistantly on a circle. Basically we'll draw the corners of a hexagon:
Pretty straight forward so far. Notice how I wrote the for loop that draws the points. Changing the div parameter allows us to draw a different number of points, that are always placed equidistantly from each other.
Infinitely Looping Points
Now for the looping aspect of these points. We'll have to gradually increase the radius of the drawn points until a certain limit, and then make them jump back towards the origin and repeat. We'll need a couple of things for that:
let rMax = 150;
let completionPercentage = 0;
let rate = 0.003;
A maximum radius 'rMax', a variable that tracks how far along the way we already are, and a rate that specifies how fast we are moving. Then we'll actually have to increment and reset the completion percentage:
completionPercentage += rate;
if (completionPercentage > 1){
  completionPercentage = 0;
}

radius = map(completionPercentage, 0, 1, 0, rMax);
We can achieve a looping behaviour with the above logic. The variable completionPercentage will always loop from 0 to 1, where we set it's speed with the rate variable. To actually get the corresponding radius, we'll map that [0 - 1] range to the [0 - rMax] range. That way we can simply change the rMax variable if we want our maximum radius to be larger. And in practice this would look as follows:
Try changing the rMax and rate variables!
Multiple Sets of Looping Points
Next, we'll want to have multiple sets of points looping, that are differently offset from each other. We'll need to wrap the code we've written so far in another loop, and make some modifications. I'm not certain if beesandbombs does it like that (they probably don't), but I found that making use of some extra memory makes this pretty easy. We'll create an array in the setup function that'll hold the offset of the points:
completionPercentages = [];
for(n = 0; n < N; n++){
   rateOffset = map(n, 0, N, 0, 1);
   completionPercentages.push(rateOffset);
}
Plugging this into our setup function, we'll essentially offset the points before they actually ever get drawn. In this manner our points will also always be equidistantly offset from each other, and we can control how many sets of points we want by setting the global variable N. The entire code would then look like this:
We're kind of halfway there already. Well not really, but for the impatient amongst you, we are :).
Pseudo Hexagons
It would be quite easy to simply draw expanding hexagonal shapes now, but since there are gaps in between the lines, we'll have to think of something else. To achieve the lines I used vectors! We'll want to draw two lines that are oriented towards the two adjacent corners/points in the hexagon:
//vector that defines the position of the point to the right
vRight = createVector(
    radius * cos(a + TAU/div),
    radius * sin(a + TAU/div)
);

// The angle from the current point to the right point
// we do this with the atan2 function
angleRight = atan2(vRight.x - x, vRight.y - y);

// length of the line drawn, we'll change this later
strokeLength = 20;

// the strokelength determines how far along the line towards the next point we are
// basically scaling the distance
vecRight = createVector(
    x+strokeLength*sin(angleRight),
    y+strokeLength*cos(angleRight)
);

// And finally we draw the line
line(x, y, vecRight.x, vecRight.y);
I hope the comments explain a little what I did here. We have to repeat these same steps for the left point. We basically find a vector that is oriented towards the two points that are right and left from the current point, and draw lines oriented towards them. The atan2() function allows us to find the angle between two sets of points, which we'll need to correctly slant the drawn lines. And the strokeLength parameter essentially allows us to control the length of the drawn lines.
Try going trough it step by step, it'll make more sense that way. The code would then look like this:
Doesn't look very pretty yet, but we're basically 90% done at this point. The hardest part is behind us.
Fading Strokes in and out
Yet again, we recurr to one of my favorite tricks: the Distance to the center! We'll essentially want to shrink the lines, the further they are from the center. Very simply we can do this with the inbuilt dist function:
d = dist(x, y, 0, 0);
dWeight = map(d, 0, rMax, 5, 0);
strokeWeight(dWeight);
We'll add this little snippet before we draw the points and lines, and we'll get them to smoothly fade into nothingness! But you'll notice that we also don't want them to immediately pop out of nothingness in the center. We'll have to add another short if statement to remedy that:
maxStrokeWeight = 5;

d = dist(x, y, 0, 0);
dWeight = map(d, 0, rMax, maxStrokeWeight, 0);
strokeWeight(dWeight);

minDist = 10;
if(d < minDist){
    dWeight = map(d, 0, minDist, 0, maxStrokeWeight);
    strokeWeight(dWeight);
}
We'll set an arbitrary distance, in which the strokeWeight will be grown from 0 until it reaches it's maximum and then shrink again. We'll make heavy use of the map function again:
Finally, we want to repeat the same steps for the strokeLength of the drawn lines! We can use the same code for the length of the strokes:
maxStrokeWeight = 5;
maxStrokeLength = 10;

d = dist(x, y, 0, 0);
dWeight = map(d, 0, rMax, 1, 0);
strokeWeight(dWeight*maxStrokeWeight);
strokeLength = dWeight*maxStrokeLength


minDist = 10;
if (d < minDist) {
  dWeight = map(d, 0, minDist, 0, 1);
  strokeWeight(dWeight*maxStrokeWeight);
  strokeLength = dWeight*maxStrokeLength;
}
And the entire code would look something like this:
Offsetting every other loop
Observing the original sketch closely, we can see that every other loop is angle a little differently. To be precise it's offset by PI/2. We can achieve this effect in our code by simply checking if the loop index is even or odd, and then add this offset to the angle:
for (n = 0; n < N; n++) {
  if(n%2==0){
    shift = PI/2
  }else{
    shift = 0
  }
  for (a = shift; a < TAU+shift; a += TAU / div) {
  }
}
Let's also crank up the number of hexagons:
And that's pretty much the entire logic behind the sketch! Last thing we're going to is add a couple of aethetic touches!
Aesthetic Touches
Yet again, we're going to use our trusty background transparency trick for some pseudo motion blur. We'll also color the background in bright red to make our sketch extra spicy:
background(255,0,0,80);
And in practice this would look like this:
And that's a wrap, if you enjoyed this tutorial, share it with your friends! It really helps, it's basically telling google that this post is useful! Anyway, cheers! And happy sketching!
