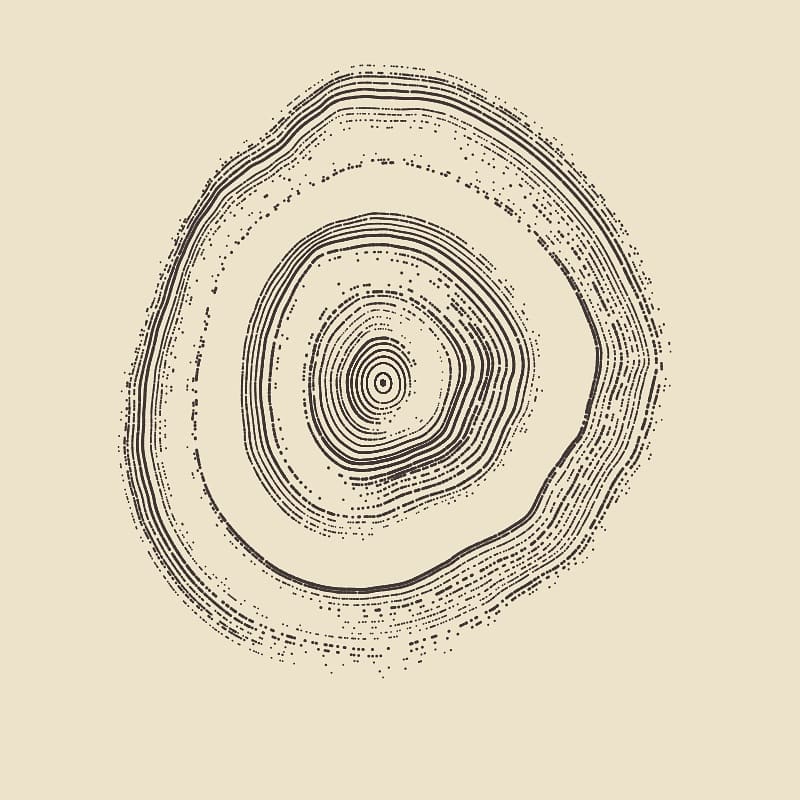
This is the 4th installment in the explorative series on Perlin Noise, If you haven't done so yet, or have no idea what Perlin Noise is, go have a look at the previous posts in this series. Otherwise, read onward!
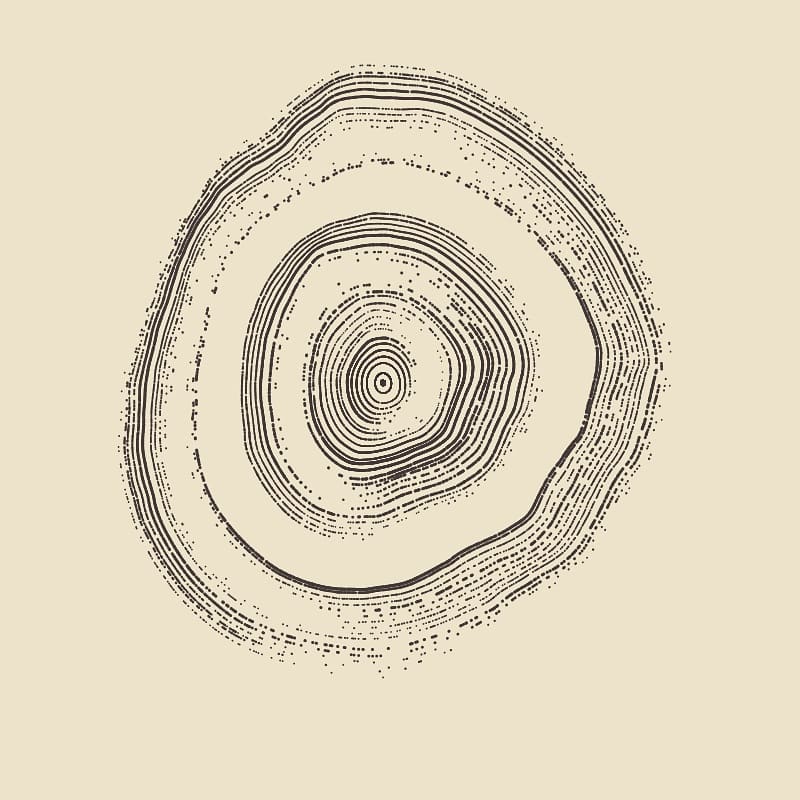
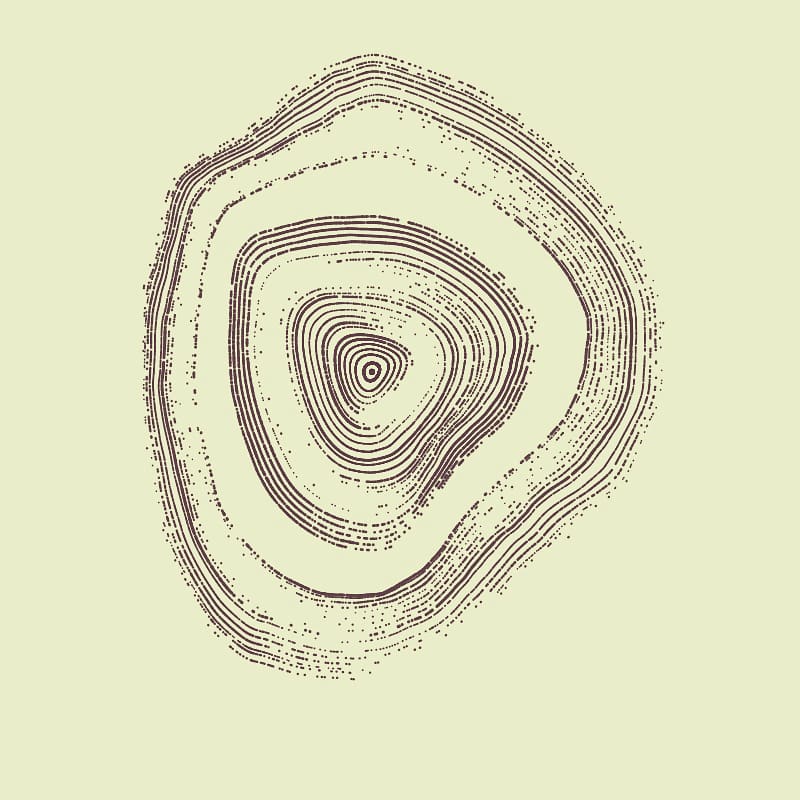
This post is inspired by a sketch I've stumbled across by chance on reddit by reddit user u/TheFoolVoyager. The sketch consisted of beautiful generative tree rings that looked like diagrams from an old science book.

Even though I was unable to exactly recreate the same sketch, I was able to code up some generative tree rings that I like just as much. This was also only possible by using perlin noise, you see, not only can we create smooth curves along a line with Perlin Noise but also along the circumference of a circle! (I am not certain however if the correct term for it is Radial Perlin Noise, leave a comment/shoot a message to discuss terminology!)
The very first thing we'll want to do, is create a blob using Perlin Noise and work our way up from there!
Making a circular blob
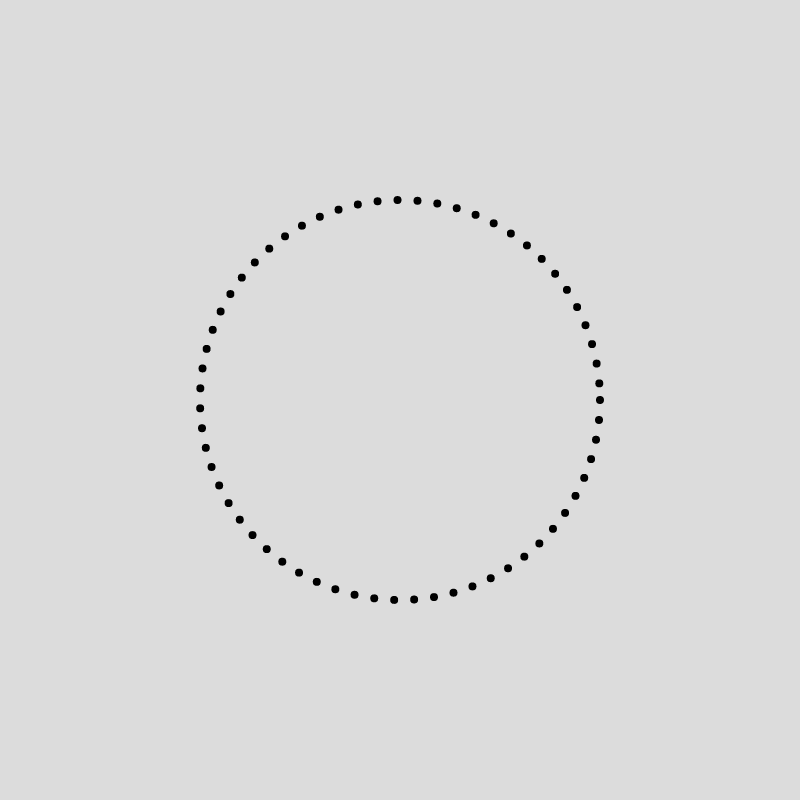
We'll start by positioning a number of points along the circumference of a circle:
function setup() {
  createCanvas(400, 400);
}

function draw() {
  background(220);
  stroke(0);
  strokeWeight(4);
  for(a = 0; a<TAU; a+=0.1){
    var x = 200 + 100*cos(a);
    var y = 200 + 100*sin(a);

    point(x,y);
  }
}
The snippet above is my favorite way of doing so. We can simply loop from 0 to 2xPI (conveniently we can use the constant TAU which is equivalent to 2xPI). The value by which we increment determines how spaced out the points along the circle are, this will be important later on. We also use a strokeWeight of 4 to make the points a little bit more visible.
Next we'll want to slightly displace these points with Perlin Noise:
let scale = 10;
let resolution = 0.05;
function draw() {
  background(220);
  stroke(0);
  strokeWeight(4);
  for(a = 0; a<TAU; a+=0.1){
    var x = 200 + 100*cos(a);
    var y = 200 + 100*sin(a);

    var n = map(noise(x*resolution, y*resolution), 0, 1, -scale, scale)

    point(x+n,y+n);
  }
}
We can do so by invoking the noise() function and mapping it to a specific range. The map() function comes in handy in this case, we simply map from the [0-1] range (that is the usual output range of the noise() function), to a specific range that we can control with the scale variable that we declare at the top. Here are scales 10 and 50:
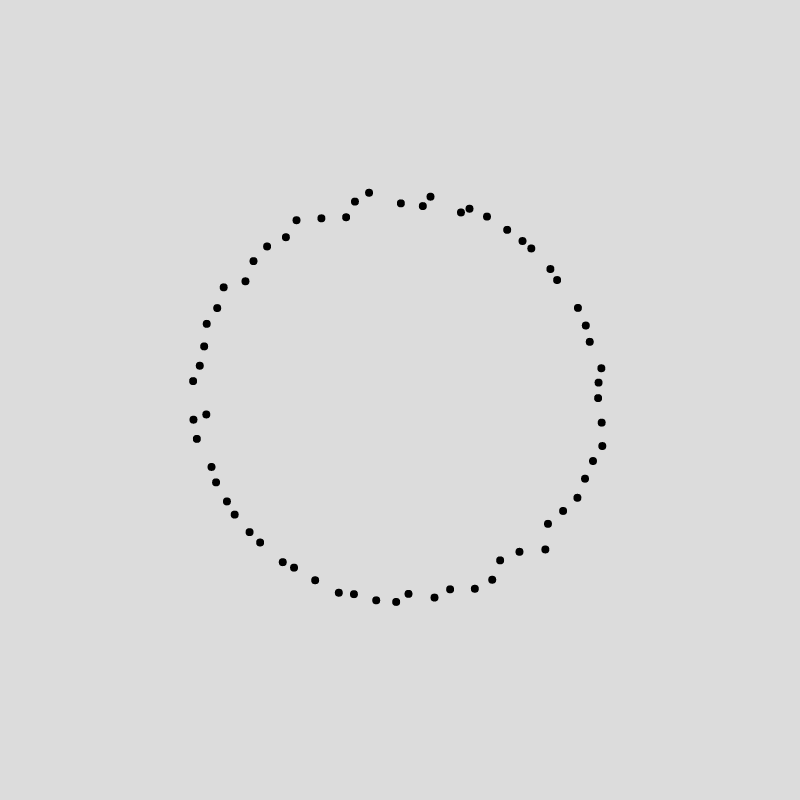
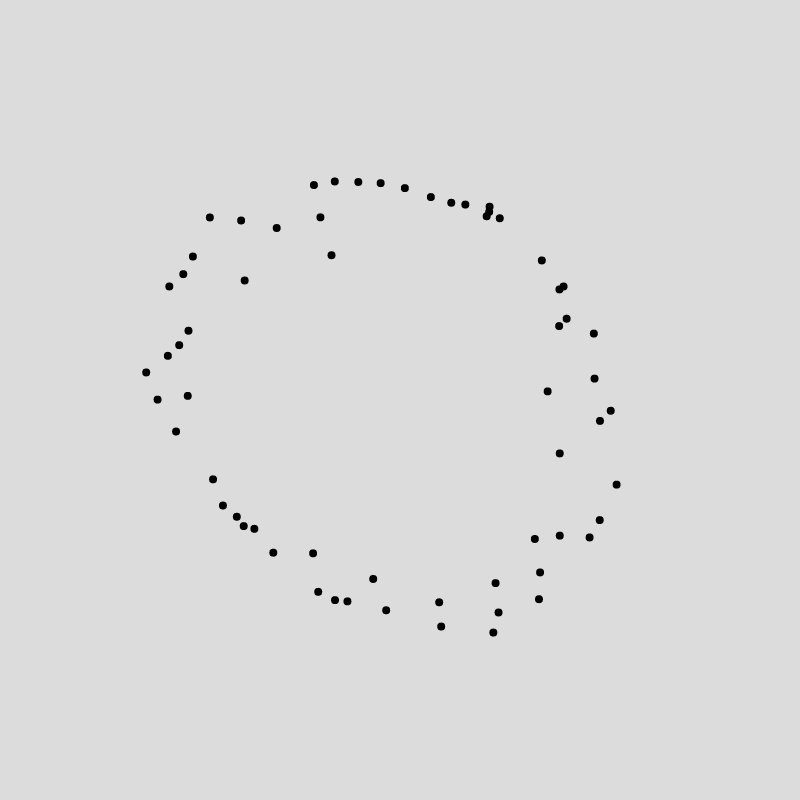
We also want a resolution variable, that scales the input to the noise() function, remember, the finer the distance between the points we feed to the noise() function, the smoother the output values! This is one of the awesome properties of this function! Here are resolution 0.05 and 0.002 (which has the nicest shape so far):
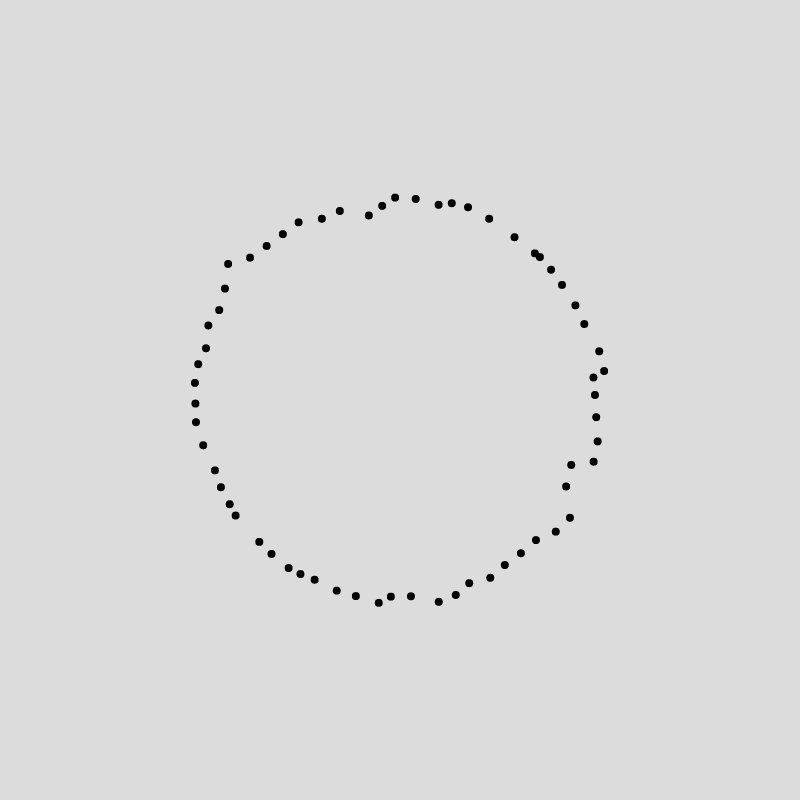
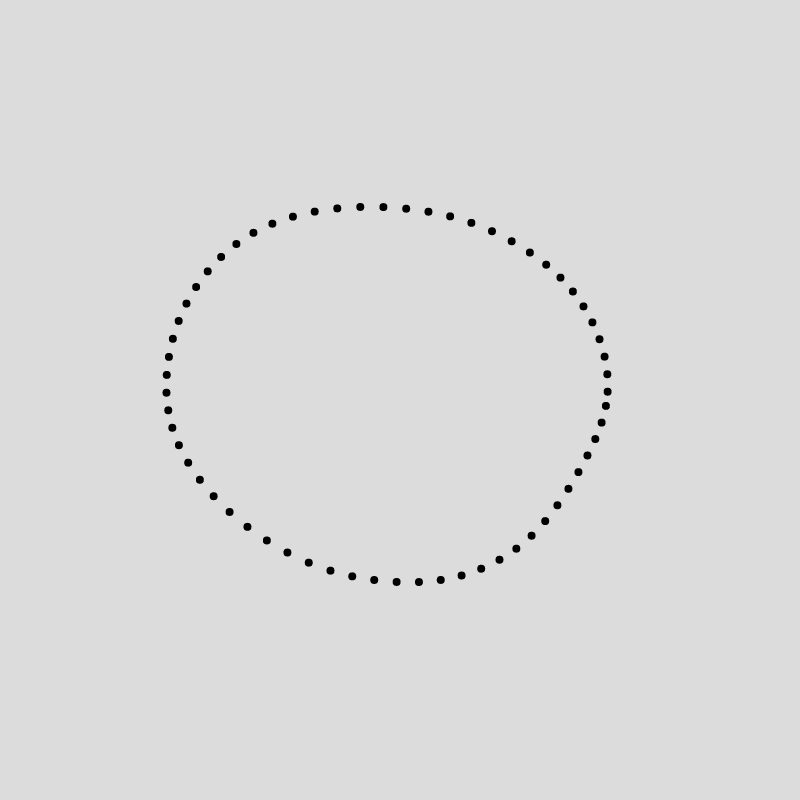
Also note that we need to feed the exact coordinates of the points into the noise function. The best way to understand this, is by imagining that our perfect circle consists of thin aluminium foil, and the Perlin Noise is a rugged surface that lays underneath this circular slice of aluminium foil. We then proceed to press our aluminium foil circle onto this surface, assuming it's shape. Now, if we scrape off our circle it will be far from perfect anymore. I hope this made sense, it's how I like to think about it.
We can further improve our code by being able to specify how many points we want along the circumference of the circle. We can do so by creating a new variable numPoints, incrementing by TAU divided by that number will give us exactly numPoints along the circumference.
let scale = 50;
let resolution = 0.002;
let numPoints = 100;
function draw() {
  background(220);
  stroke(0);
  strokeWeight(4);
  for(a = 0; a<TAU; a+=TAU/numPoints){
    var x = 200 + 100*cos(a);
    var y = 200 + 100*sin(a);

    var n = map(noise(x*resolution,y*resolution), 0, 1, -scale,scale)

    point(x+n,y+n);
  }
}
Now we already have some pretty solid code! Doesn't look very impressive yet, but the rest isn't much more difficult than this! Next up we'll actually work towards the blob shape, this can be done with our good old friend the curveVertex() function that we've already used in the previous post on smooth curves. We simply call beginShape() before the loop and then endShape(CLOSE) after and outside the loop. We will simply feed the same coordinates that we're feeding to point() to the curveVertex() function:
let scale = 50;
let resolution = 0.002;
let numPoints = 100;
function draw() {
  background(220);
  stroke(0);
  strokeWeight(4);
  beginShape();
  for(a = 0; a<TAU; a+=TAU/numPoints){
    var x = 200 + 100*cos(a);
    var y = 200 + 100*sin(a);

    var n = map(noise(x*resolution, y*resolution), 0, 1, -scale, scale)

    // point(x+n, y+n);
    curveVertex(x+n, y+n);
  }
  endShape(CLOSE);
}
We get something like this:
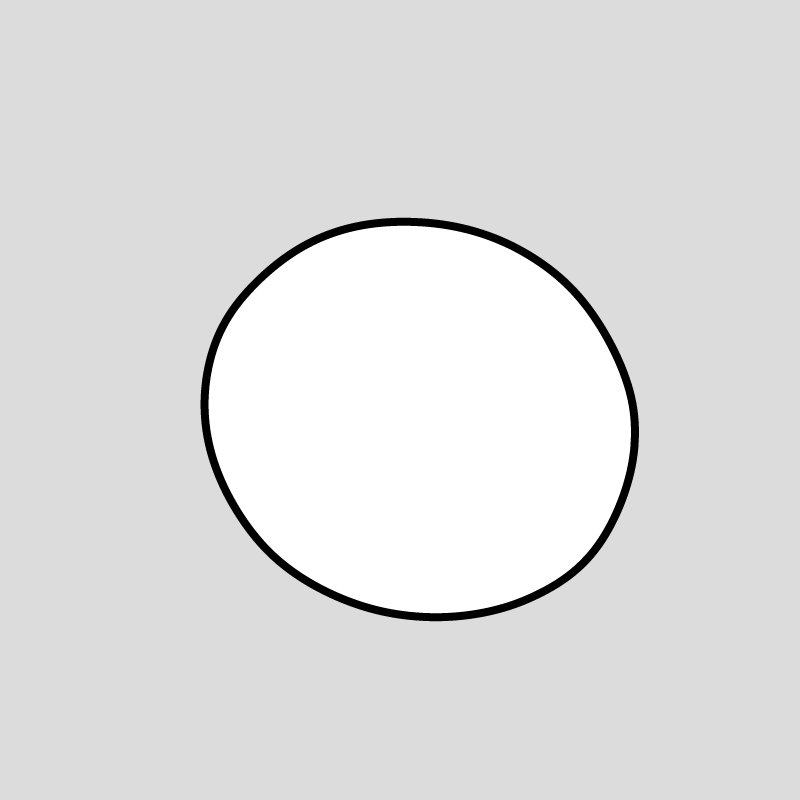
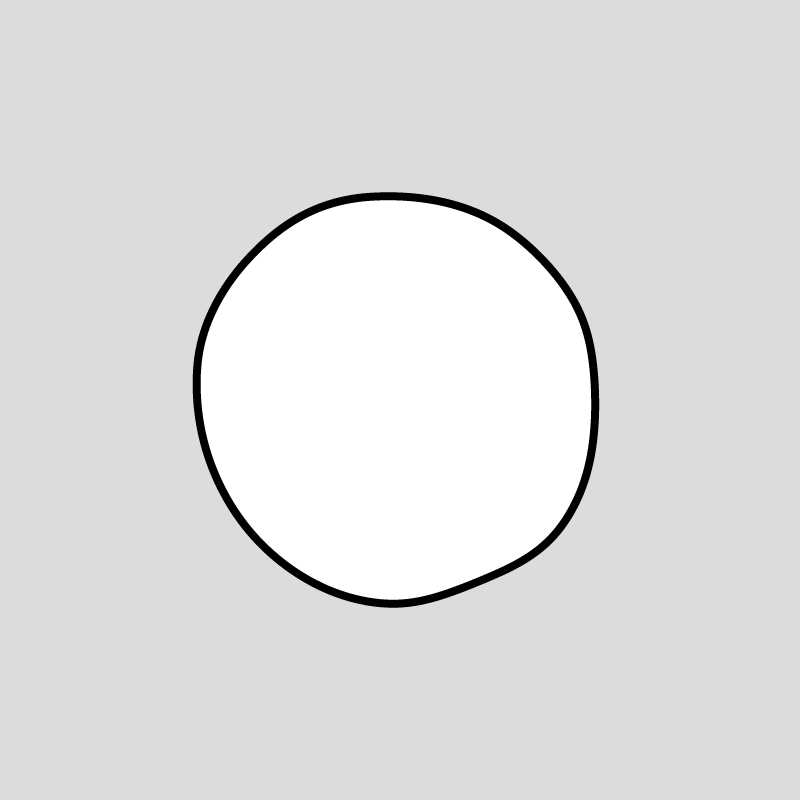
Next we'll want to change some stylistic things such as the fill of the shape and the weight of the stroke, and move these to the setup function, since we don't need to call them every draw loop:
function setup() {
  createCanvas(400, 400);
  background(220);
  stroke(0);
  strokeWeight(1);
  noFill();
}

let scale = 50;
let resolution = 0.002;
let numPoints = 100;
function draw() {
  beginShape();
  for(a = 0; a<TAU; a+=TAU/numPoints){
    var x = 200 + 100*cos(a);
    var y = 200 + 100*sin(a);

    var n = map(noise(x*resolution, y*resolution), 0, 1, -scale, scale)

    curveVertex(x+n, y+n);
  }
  endShape(CLOSE);
  noLoop();
}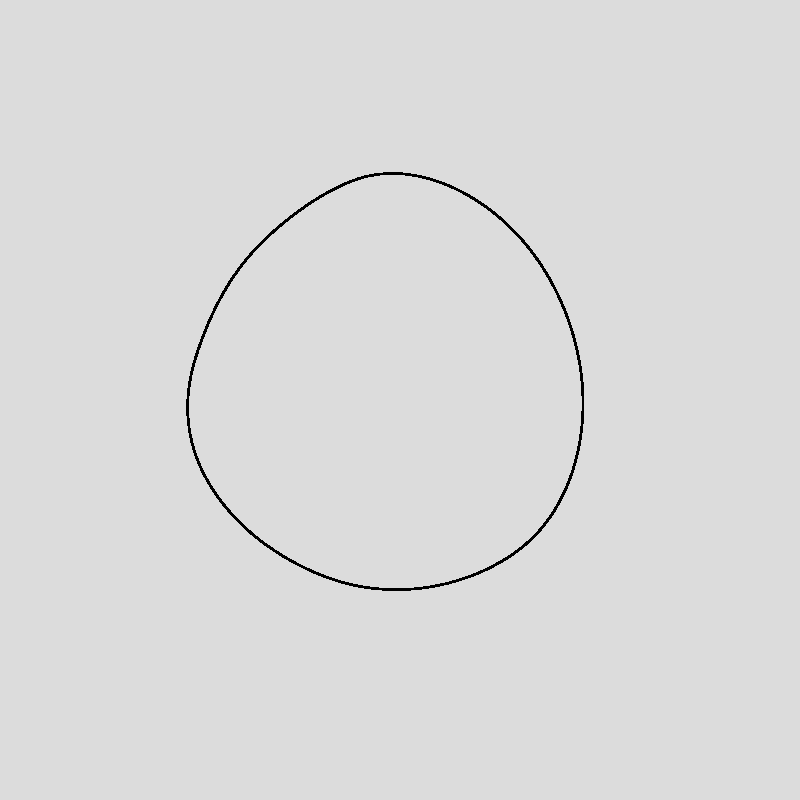
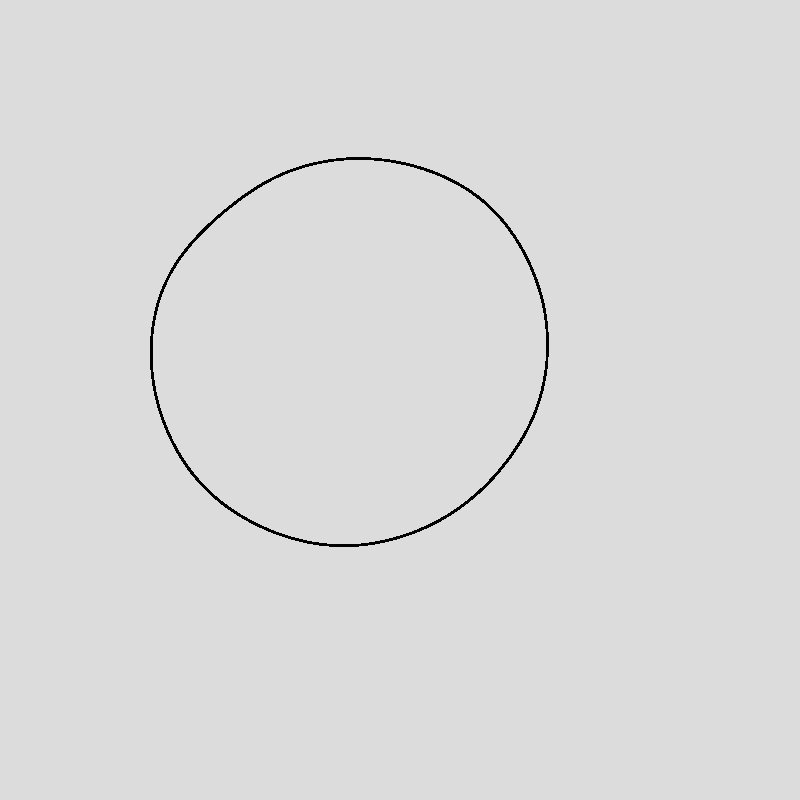
Looks much better like this!
Multiple Tree Rings
Next up, we'll want to draw several rings, that incrementally get larger outwards. We can do this by wrapping our code that we've written so far inside another loop, and introducing two new parameters called radius and numRings:
function setup() {
  createCanvas(400, 400);
  background(220);
  stroke(0);
  strokeWeight(1);
  noFill();
}

let scale = 50;
let resolution = 0.002;
let numPoints = 100;

let radius = 100;
let numRings = 20;

function draw() {
  for (r = 0; r < radius; r += radius / numRings) {
    beginShape();
    for (a = 0; a < TAU; a += TAU / numPoints) {
      var x = 200 + r * cos(a);
      var y = 200 + r * sin(a);

      var n = map(noise(x * resolution, y * resolution), 0, 1, -scale, scale);

      curveVertex(x + n, y + n);
    }
    endShape(CLOSE);
  }
  noLoop();
}
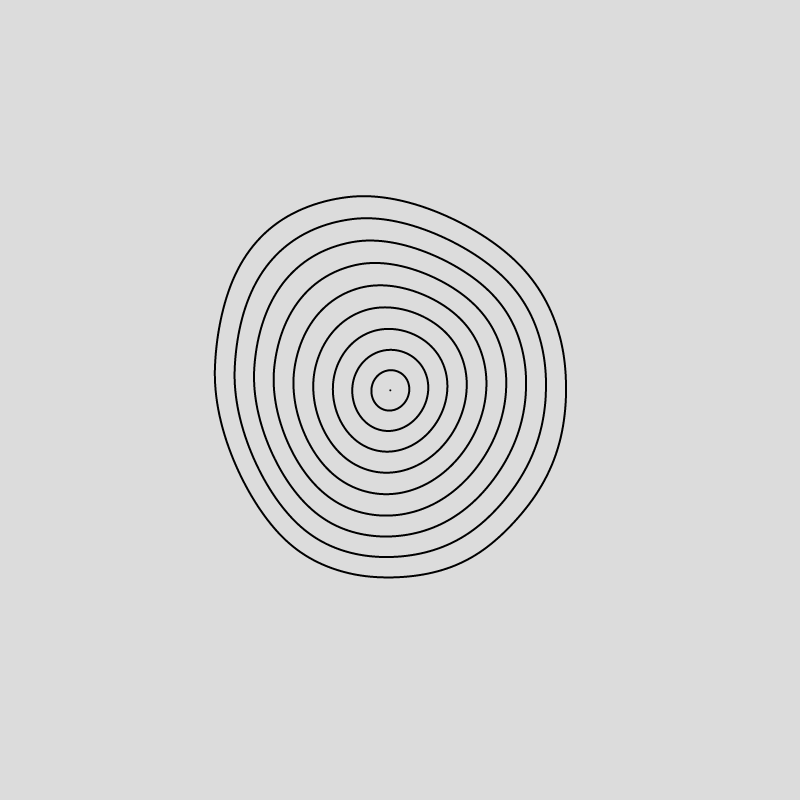
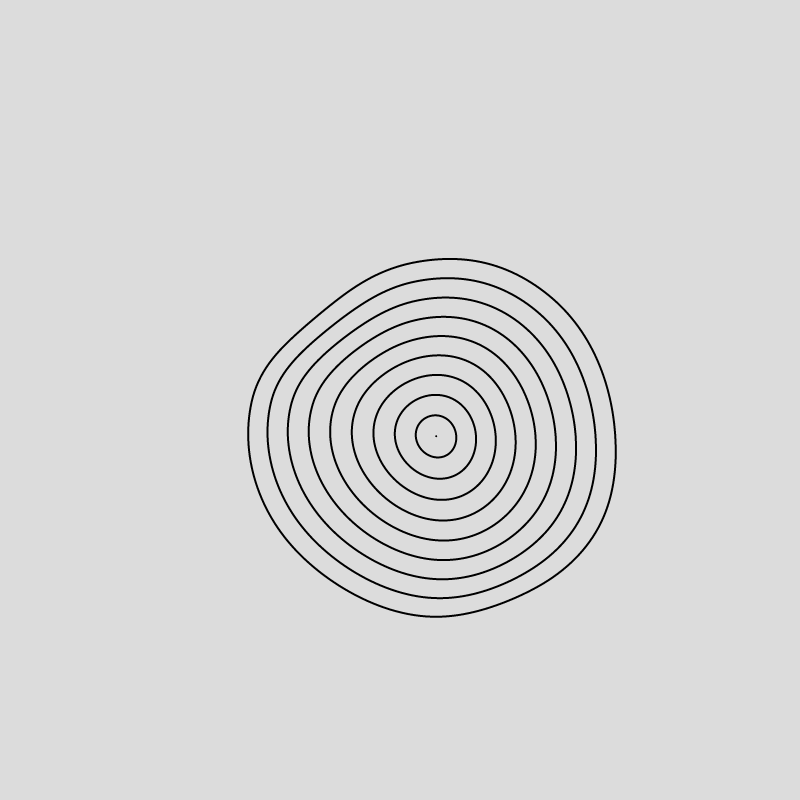
In this manner we can control the overall radius of the blob shape and how many rings we want to have inside of this shape, conveniently with two parameters! This is already a very interesting shape, with which we can do a plethora of things. At this point we'll want to stylistically work towards making it look more like actual tree rings!
First, we'll want to have the rings randomly disconnect and rejoin again, and we can do this with a simple conditional statement:
function setup() {
  createCanvas(400, 400);
  background(220);
  stroke(0);
  strokeWeight(1);
  noFill();
}

let scale = 50;
let resolution = 0.002;
let numPoints = 100;

let radius = 100;
let numRings = 20;
function draw() {
  for (r = 0; r < radius; r += radius / numRings) {
    beginShape();
    for (a = -TAU/numPoints; a < TAU+TAU/numPoints; a += TAU / numPoints) {
      var x = 200 + r * cos(a);
      var y = 200 + r * sin(a);

      var n = map(noise(x * resolution, y * resolution), 0, 1, -scale, scale);

      curveVertex(x + n, y + n);

      if(random()>0.8){
        endShape();
        beginShape();
      }
    }
    endShape();
  }
  noLoop();
}
This conditional statement is triggered by the random() function, which returns a random float between 0 and 1), and if this number is larger than a specific threshold (0.8 here, tune to taste), we will call the endShape() function followed by the beginShape() function again. This will randomly end the current ring and begin drawing it again. We get something that looks like this:
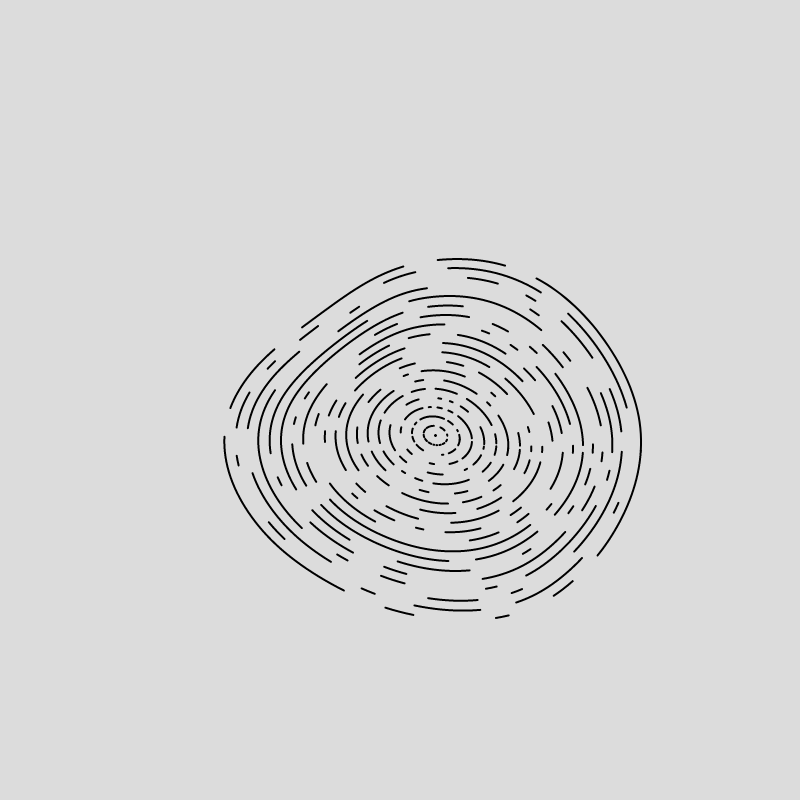
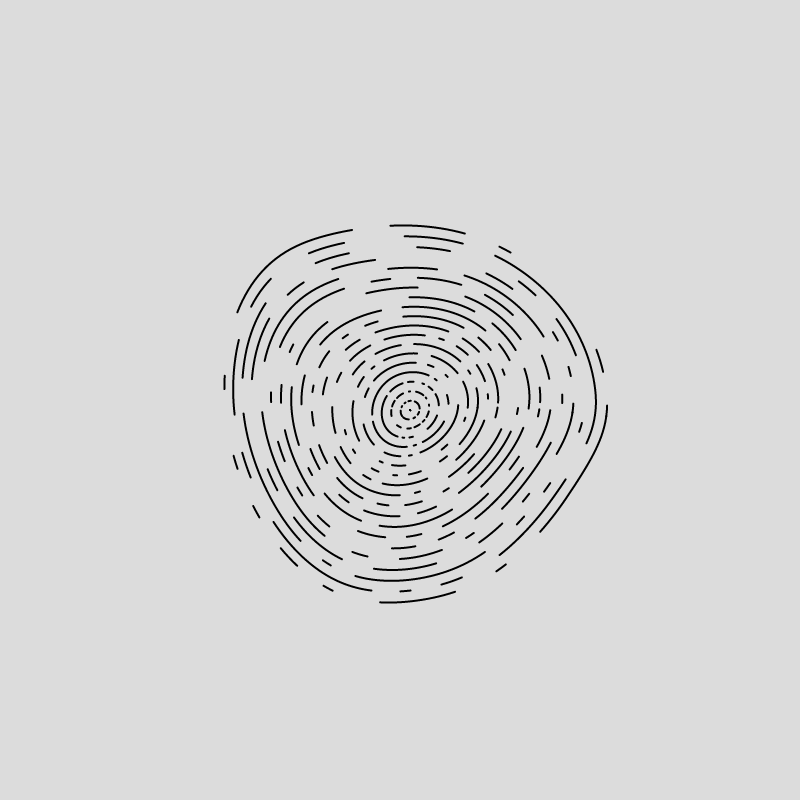
Our rings are starting to look a lot more like tree rings and/or fingerprints actually, but we can do better! What if we were to reduce this threshold the further we move outwards with our rings? Or alternatively we could modulate this threshold with a sine wave! Takes only a minimal modification to achieve fascinating new results!
function setup() {
  createCanvas(400, 400);
  background(255);
  stroke(20);
  strokeWeight(1);
  noFill();
}

let scale = 50;
let resolution = 0.002;
let numPoints = 500;

let radius = 150;
let numRings = 40;
function draw() {
  for (r = 0; r < radius; r += radius / numRings) {
    beginShape();
    for (a = -TAU/numPoints; a < TAU+TAU/numPoints; a += TAU / numPoints) {
      var x = width/2 + r * cos(a);
      var y = height/2 + r * sin(a);

      var n = map(noise(x * resolution, y * resolution), 0, 1, -scale, scale);

      curveVertex(x + n, y + n);

      if(random()>0.75-0.25*sin(r)){
        endShape();
        beginShape();
      }
    }
    endShape();
  }
  noLoop();
}
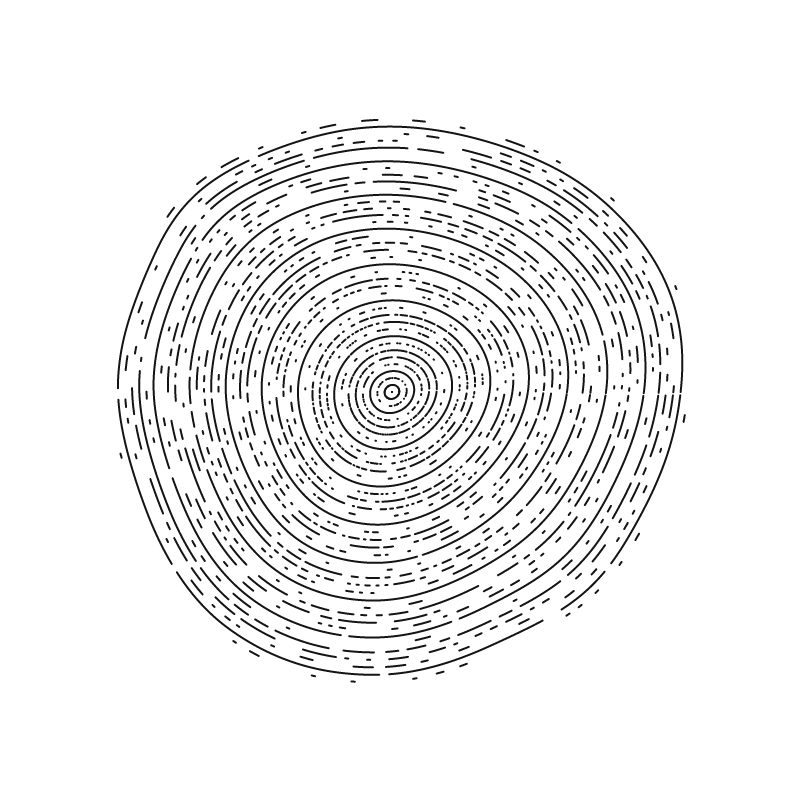
And this is about it, in this manner I've already given you the keys to the Lamborghini and the generative tree rings are only a step away! Feel free to experiment with this and send your creations my way! If you enjoyed this blog post, feel free to follow me on my social media where I post all of my creations!
