Sometimes generative artworks need a little bit of time to produce their final graphics. Rather than having the viewer and potential collector wait until these graphics have been drawn to the canvas, it can be beneficial to provide some visual feedback which indicates that the piece is in fact being generated ⚙️
This can be done in form of a loading screen, or alternatively and more popularly as a live visualization of how the artwork is coming together. Contemporarily, many generative artworks include such an initial phase where the piece assembles itself. I'm a big fan of this method, as it gives a glimpse into the inner workings of the algorithm and how it works.
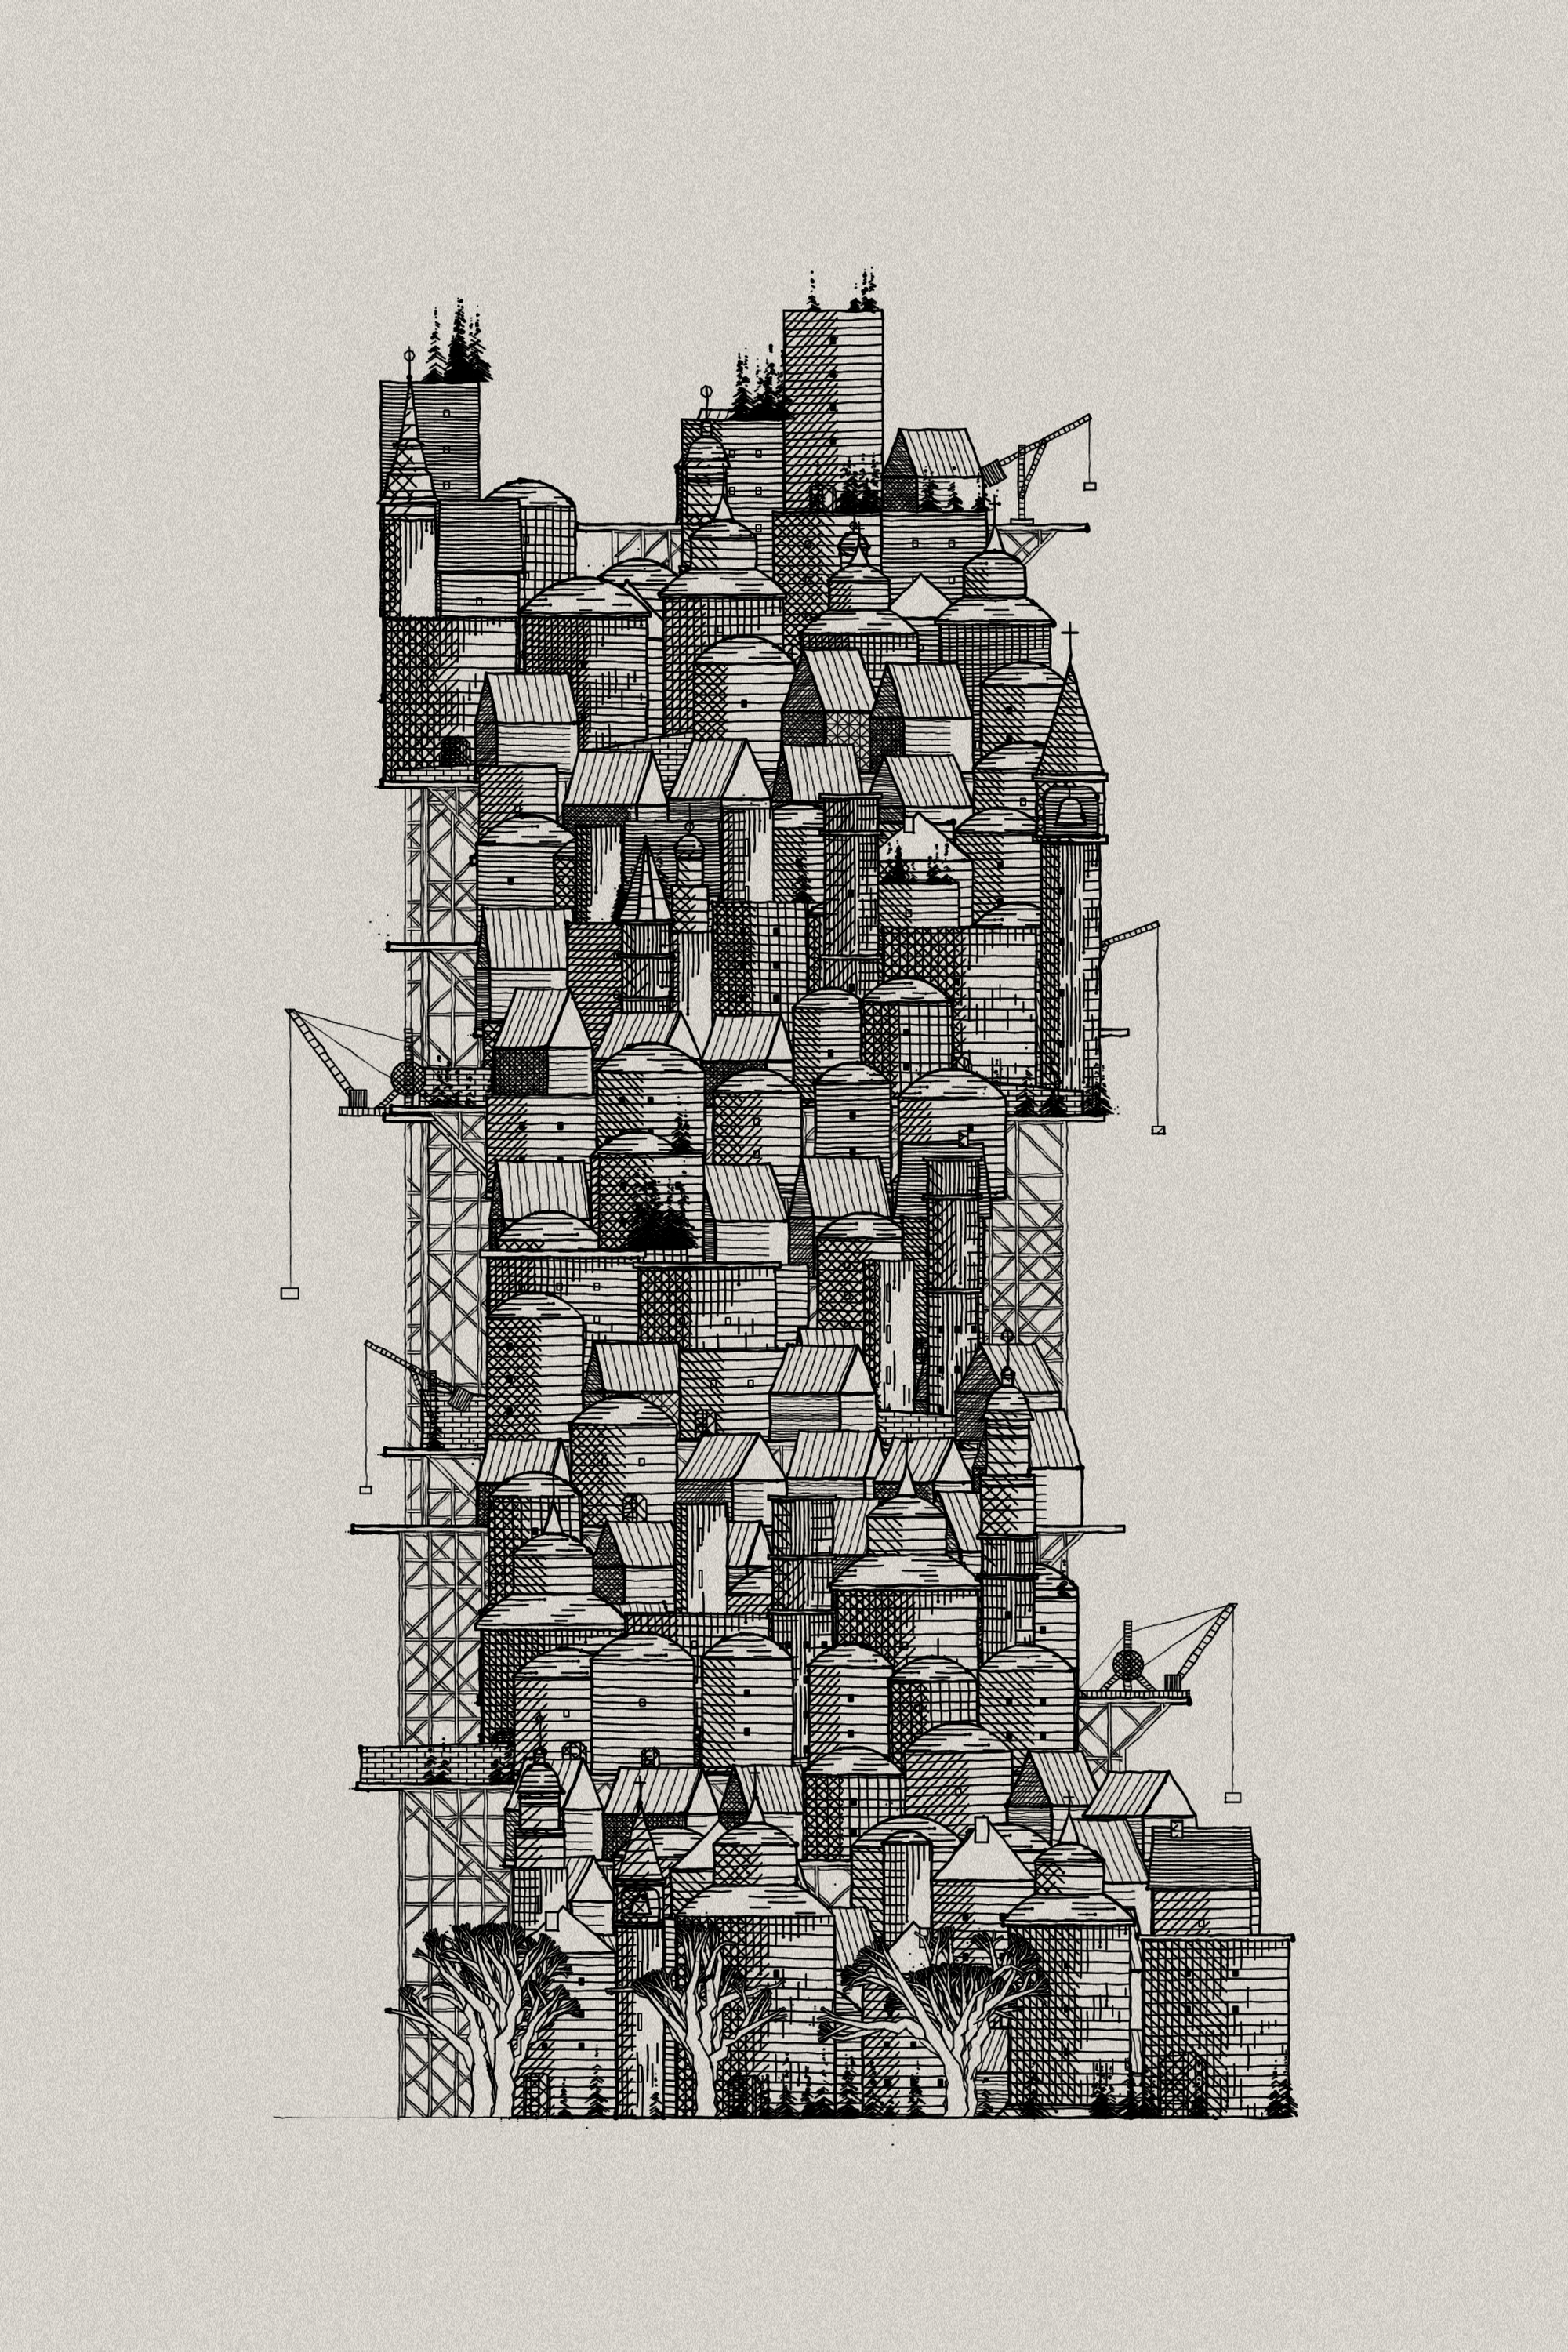
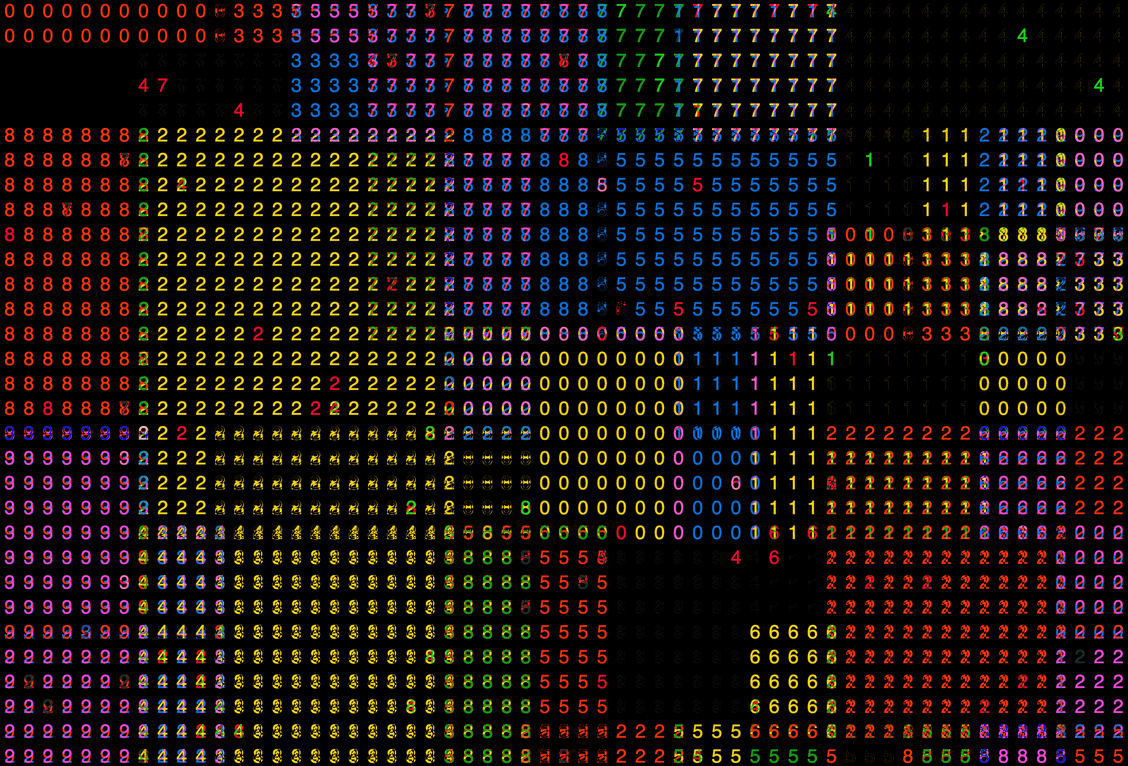
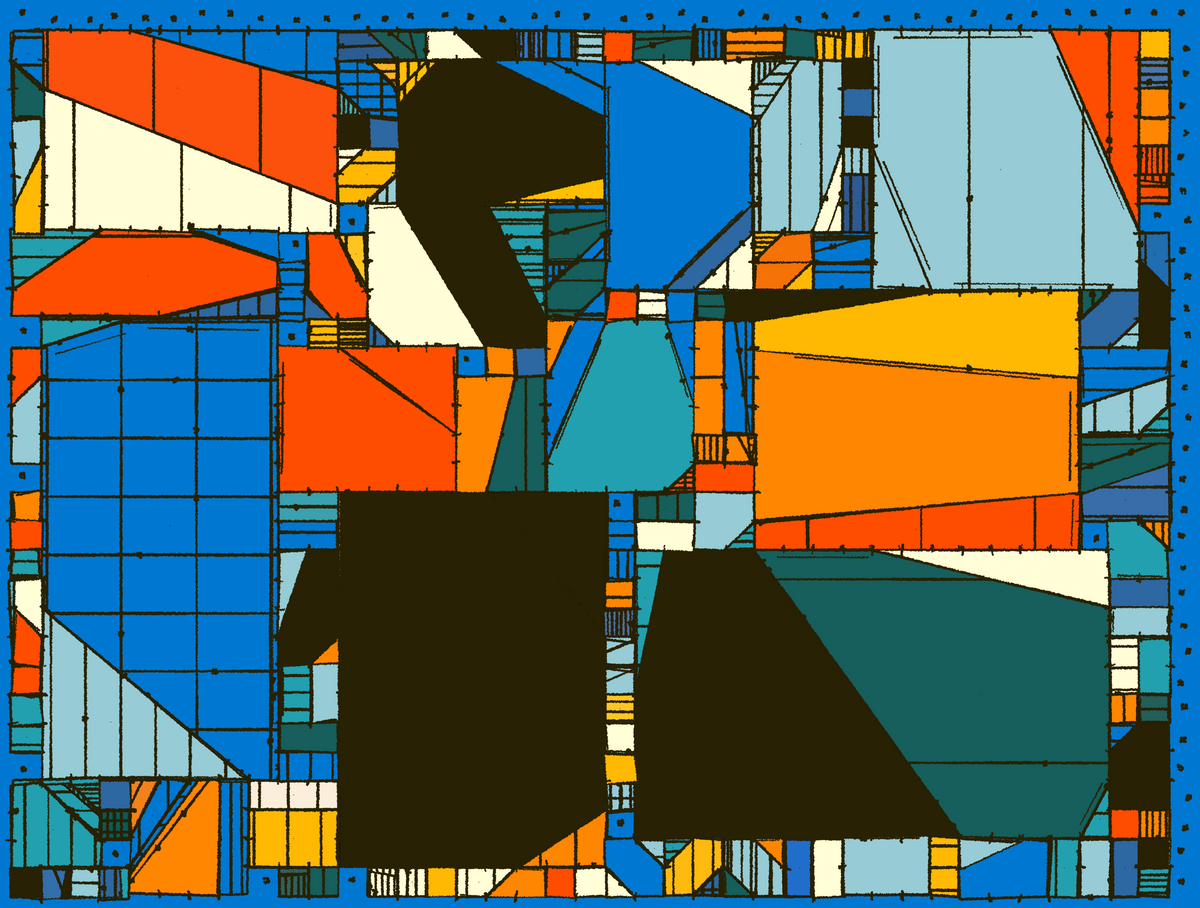
Animated drawing procedures of the generative tokens Eucalyptus and Sagebrush and The City
If you've ever wondered how a piece like Eucalyptus and Sagebrush or The City are drawn live in your browser, then this article is for you. We're going to have a look at a nifty javascript feature called generators, which can be coupled with p5's draw loop to create a live drawing animation. It's a bit tricky how this works, but by the end of this post we'll have a good grasp on how to implement our own animation generators as well as converting our previous sketches to do so.


Eucalpytus and Sagebrush by Nat Sarkissian - The City, a collaborative project by r1b2 and Laxraven
On JS Generators
In very simple terms, generators are basically functions that can be paused. This behaviour is useful in many situations, for instance if you want to perform some computation, be able to halt this process to do some other computation in the meantime, and resume when ready again.
Most commonly you'll see generators to define custom iterable and iterable-like behaviour. I've already written in depth about generators in a post from last year:

This time around however we'll focus on using it in conjunction with a draw/animation loop. Let's get started 👇
Generator Syntax
Let's start with the syntax! A generator is very similar to a regular function, with the distinction that you add an asterisk symbol directly after the function keyword:
function* someGenerator(){}Same thing if you store the generator as a variable:Same thing if you store the generator as a variable:
let someGenerator = function*(){}Adding the asterisk symbol tells javascript that a function is in fact a generator. This doesn't do anything just yet, more important is the code that we'll put inside of our generator function.
yield keyword and the next function
The secret sauce to Javascript generators is the yield keyword. Similarly to the return keyword in a regular function, it is used to extract values from a function to an external scope. However, invoking the yield keyword doesn't terminate the function's execution, it only halts it. This is better understood with an example:
function* numberGenerator(){
	let counter = 0;
	while(true){
		yield counter
		counter++
	}
}
This is a bit of an odd chunk of code to start with, but it immediately showcases a cool use case of generators. In this generator's body we created a while loop that is set to... drumroll - true! Frightening stuff really; but if we use it right then we've actually created quite a powerful thing - and infinite sequence generator!
How do we actually use this now? If we call this generator as we would a regular function, not much is actually going to happen. We have to inform the generator that we actually want it to start executing and yield a value:
// first we create an instance of our generator
// storing it as a variable
let generatorInstance = numberGenerator()

// we invoke the next() function on this generator to get a value out of it
console.log(generatorInstance.next()) // prints an object to the console
By virtue of being a generator, it has an inbuilt function called 'next()'. This function prompts the generator to execute it's code until it reaches a yield keyword, when it does, it pauses it's execution and returns a small object with two properties.
Object { value: 0, done: false }The first property is labeled 'value' and the other is labeled 'done'. The value property contains the actual value that the generator extracted, whereas the done property is a boolean that indicates wether the generator has finished it's execution by being truthy. If there are still remaining yield statements in the generator it would be falsy. In our case the generator produces a value of 0 and indicates with a falsy boolean that it isn't done yet.
Now the cool thing is that we can call this next function as many times as we want:
console.log(generatorInstance.next().value) // prints 0
console.log(generatorInstance.next().value) // prints 1

/*
	Here we can execute some other code
	The generator will remember where it left off
*/

console.log(generatorInstance.next().value) // prints 2
Since our generator will virtually never run out of numbers to yield, we can invoke it as many times as we want. This is useful if we want to have an infinite counter. And this already covers the most important aspects of javascript generators!
Multiple yield keywords
Another thing to note, is that a generator can have multiple yield statements throughout it's body, for instance:
function* twoTake(a, b){
	yield a + b;
	yield a * b;
}

let gen = twoTake(2, 3);
console.log(gen.next().value) // prints 5
console.log(gen.next().value) // prints 6
On the first next call we'll get the result from the first yield statement which performs an addition, the second call you'd produce the result from the multiplication. Having multiple yield statements in a generator will come in handy in a bit.
Generators are Iterables
Although generators may seem like they are functions at first glance, they should actually be treated as iterables. Iterables in javascript are essentially collections of elements that have an inbuilt method for being looped over, I go over this in much more detail in my previous article, where I also discuss how arbitrary objects can be turned into iterables:
However the important notion for us here is that generators have the super useful property to be passed to a for ... of loop, for example:
function* zeroToTen(){
	for(let n = 0; n <= 10; n++){
		yield n
	}
}

for(let num of zeroToTen()){
	console.log(num.value())
}
Alright, this covers the most important notions of generators, onto using it alongside P5's draw loop!
Consuming a generator in a draw loop
Now let's use our newly acquired knowledge to make some art! Starting with a very simple P5 sketch that draws some elements to the canvas:
function setup(){
	createCanvas(400, 400)
}

function draw(){
	background(0);
	for(let n = 0; n < 100; n++){
		fill(random(255),random(255),random(255))
		ellipse(random(400), random(400), random(100))
	}
	noLoop()
}
Here we're simply scattering some circles at random across the canvas. This happens instantly, we don't actually get to see how these circles are being drawn one after another, even though the code is actually doing that. This is because the canvas only gets drawn once every iteration of the draw loop.
However we can trick the draw loop, by not drawing all of the circle at once but rather do it iteratively with a generator. Now we can take this loop, put it inside of such a generator function, and interrupt it with a yield statement after every drawing of a circle:
let circleGen;
function setup(){
	createCanvas(400, 400)
	background(0);
	circleGen = generateCircles()
}

function draw(){
	let nxt = circleGen.next()
	if(nxt.done){
        console.log('DONE')
		noLoop()
	}
}

function* generateCircles(){
	for(let n = 0; n < 100; n++){
		fill(random(255),random(255),random(255))
		ellipse(random(400), random(400), random(100))
		yield 1 // doesn't matter what we yield here actually
	}
}
What's important here:
- We only draw the background once in the setup function
- Create the generator instance variable globally such that: we can initialize it in the setup, and invoke it in the draw loop
- Perform the drawing routine in the generator function
- Call noLoop() when the generator yields a truthy done property
And here's what this looks like in action:
Nesting Generators
Sometimes we want to draw our artwork in several phases, for instance we'd first like to draw some background elements, then the main graphics and finally some other details. For this purpose we would split our code into different functions, we can also do this with generators where we chain them together.
Here we would create a main generator function that iterates over the smaller subroutines, for example:
let mainGen;
function setup(){
	createCanvas(400, 400)
	background(0);
	mainGen = mainGenerator()
}

function draw(){
	let nxt = mainGen.next()
	if(nxt.done){
        console.log('DONE')
		noLoop()
	}
}

function* mainGenerator(){
	let backGen = backGenerator()
	let frontGen = frontGenerator()

	for(let i of backGenerator()){
		yield 1
	}

	for(let i of frontGenerator()){
		yield 1
	}
}

function* backGenerator(){
	for(let n = 0; n < 100; n++){
		fill(random(255),random(255),random(255))
		ellipse(random(400), random(400), random(100))
		yield 1
	}
}

function* frontGenerator(){
	rectMode(CENTER)
	for(let n = 0; n < 100; n++){
		fill(random(255),random(255),random(255))
		rect(random(400), random(400), random(100))
		yield 1 // doesn't matter what we yield here actually
	}
}
And in action:
Animation Speed and FrameRate
The number of times that the draw loop is executed within the span of a second is tied to the frame rate. The default value being 50 frames per second. Hence we can slow down and speed up our drawing animation by controlling the frame rate in P5:
frameRate(25) // put this in the setup functionFor values larger than 60 fps you might notice that the animation isn't getting any faster anymore. This is due to the frame rate being capped at the refresh speed of your monitor/display, most of which have a refresh rate of 60 fps. There is a workaround however by manually forcing a redraw:
function draw(){
	// generator stuff here

	setTimeout(redraw, 10)
}
P5 has a function called redraw(), which when invoked makes the draw loop proceed. By calling this function at the end of the draw loop with the setTimeout function we can make it trigger early and essentially overriding the frame rate.
It's important to note here however that it won't magically make your code run faster if you're drawing a lot of graphics to the canvas. It just makes it seem that things are being drawn faster to the canvas.
Skipping yields
Now that we have this elaborate drawing system in place, sometimes we don't actually want to wait for the graphics to be generated, we'd much rather have it generated all at once. For instance when we're testing our code locally and are still in the process of developing a piece, or when the preview images for fxhash are being generated, there we also don't need an animated drawing procedure.
One way to do so would be by providing alternative non-generator functions right off the bat, but that would mean a lot of additional code that essentially does the same thing. Alternatively we could iterate over the mainGenerator at the end of the setup function all at once and skip the drawing code in the draw loop via a boolean toggle, or we can even code in a toggle for each and every yield statement.
Since our yield statements aren't actually functional, meaning that they don't return any data that we'll make use of in an external scope then we don't need to actually execute them:
function* generateGraphics(){
	for(let n = 0; n < 100; n++){
		// draw something here
		if(!isPreview){
			yield 1
		}
	}
}
If you feel that the drawing animation is slow and you'd like to draw things in batches, you can also for instance only trigger every second or third yield:
function* generateGraphics(){
	for(let n = 0; n < 100; n++){
		// draw something here
		if(n%2 == 0){
			yield 1
		}
	}
}
Closing Thoughts
And that concludes all that I know about generators and using them to create animated drawing procedures. Hope this is useful to you, and if you end using these techniques tag me on Twitter so that I can feature your creation on here! Here's something cool I did with a generator:
Grid lookup implemented ✅ much much faster now! 🚀 #genart pic.twitter.com/YT5kRtRyDY
— Ahmad Moussa || Gorilla Sun (@gorillasu) June 8, 2023
And that's it from me, cheers, and happy sketching ~ Gorilla Sun 🌸

