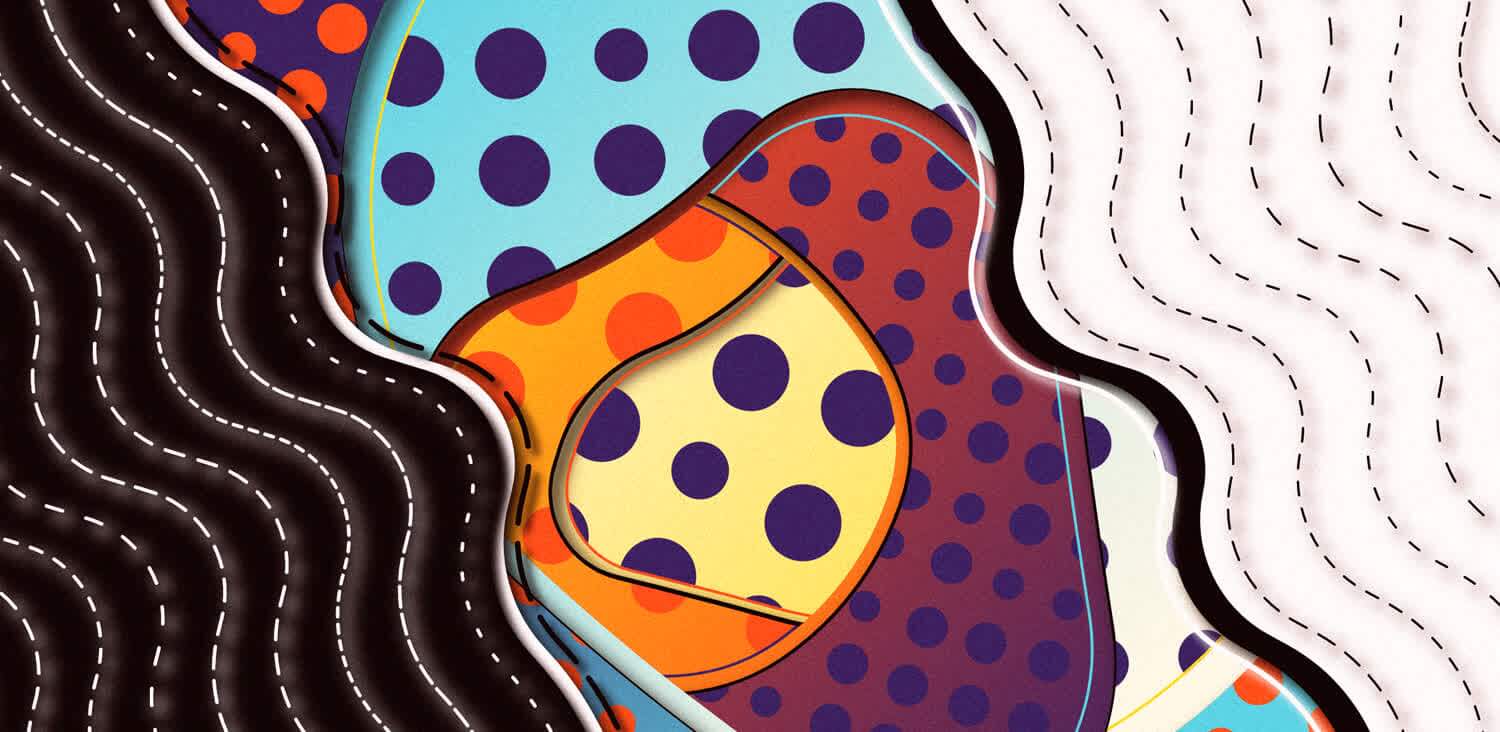
If you haven't seen it on my Twitter already, this past month I've had the chance to make a sketch for Crayon Codes! I'm incredibly happy with how it turned out and with everyone's response to it! Before going into any details, I'd like to thank Sinan for reaching out to me about this opportunity, and for his continuous feedback throughout the different iterations my sketch went through!
Secondly I'd like to thank all those who've collected an edition or two of 'Behind the Canvas'! It was a joy to make, and as always I learned a lot along the way. Making a sketch where the collector could specify parameters prior to collecting, was yet another beast to conquer. Here are a few of the 70 editions that have been collected:
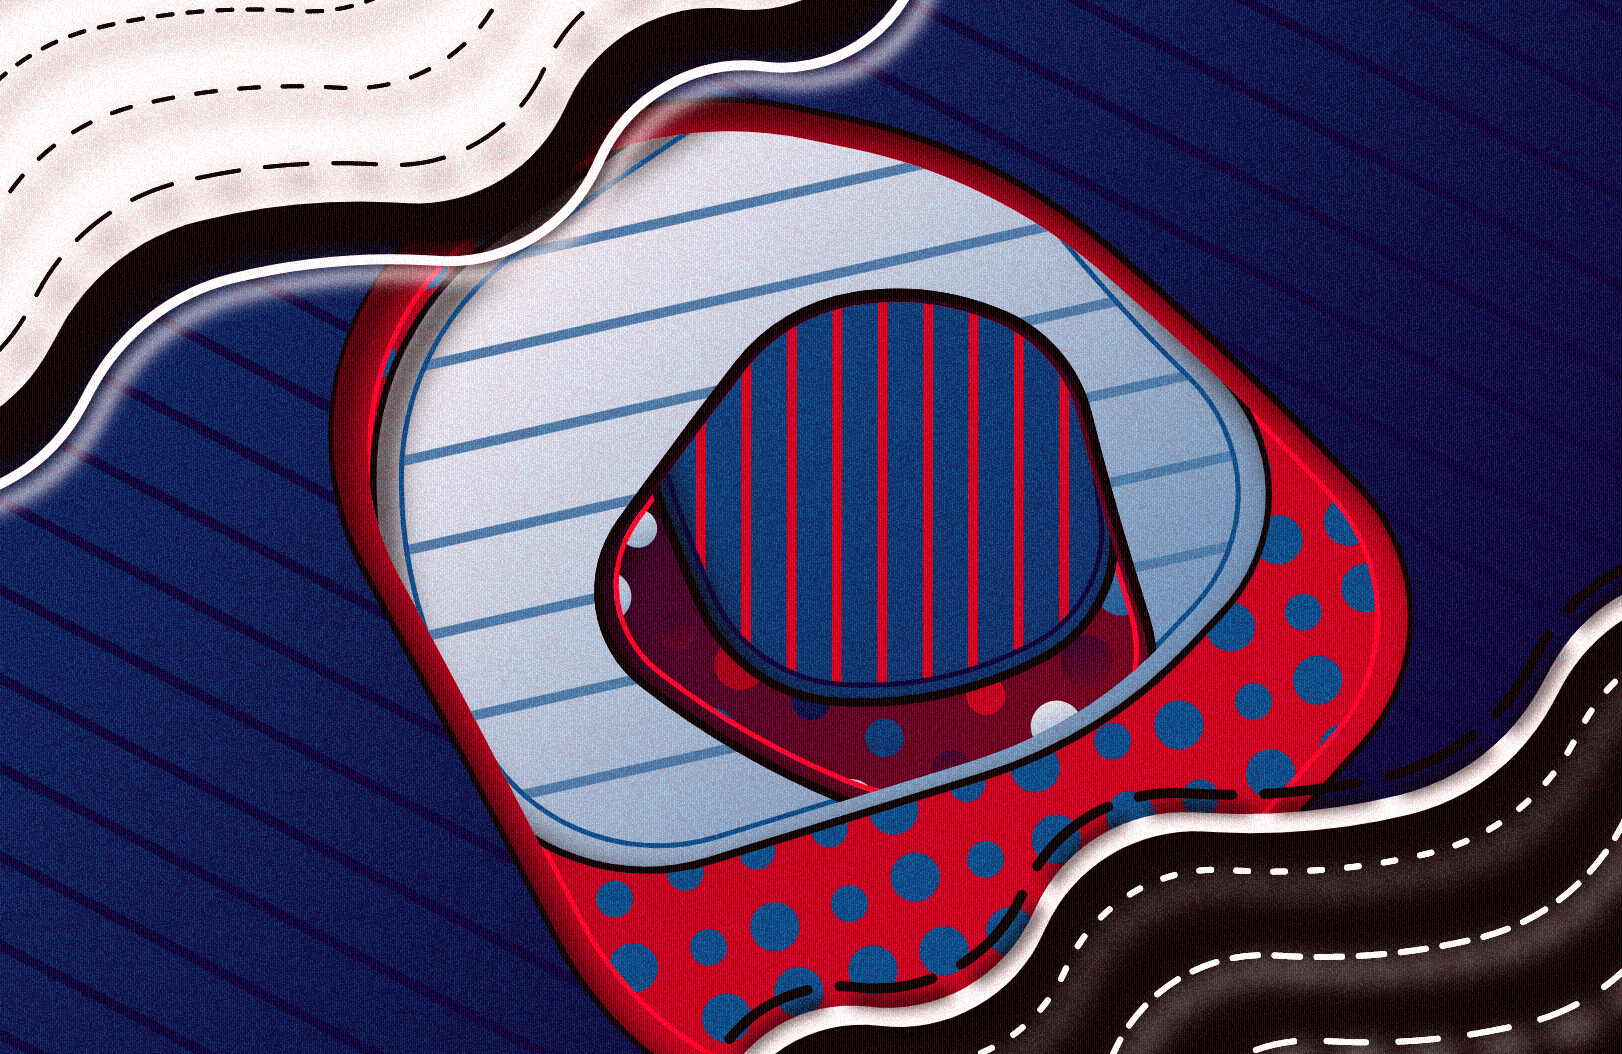
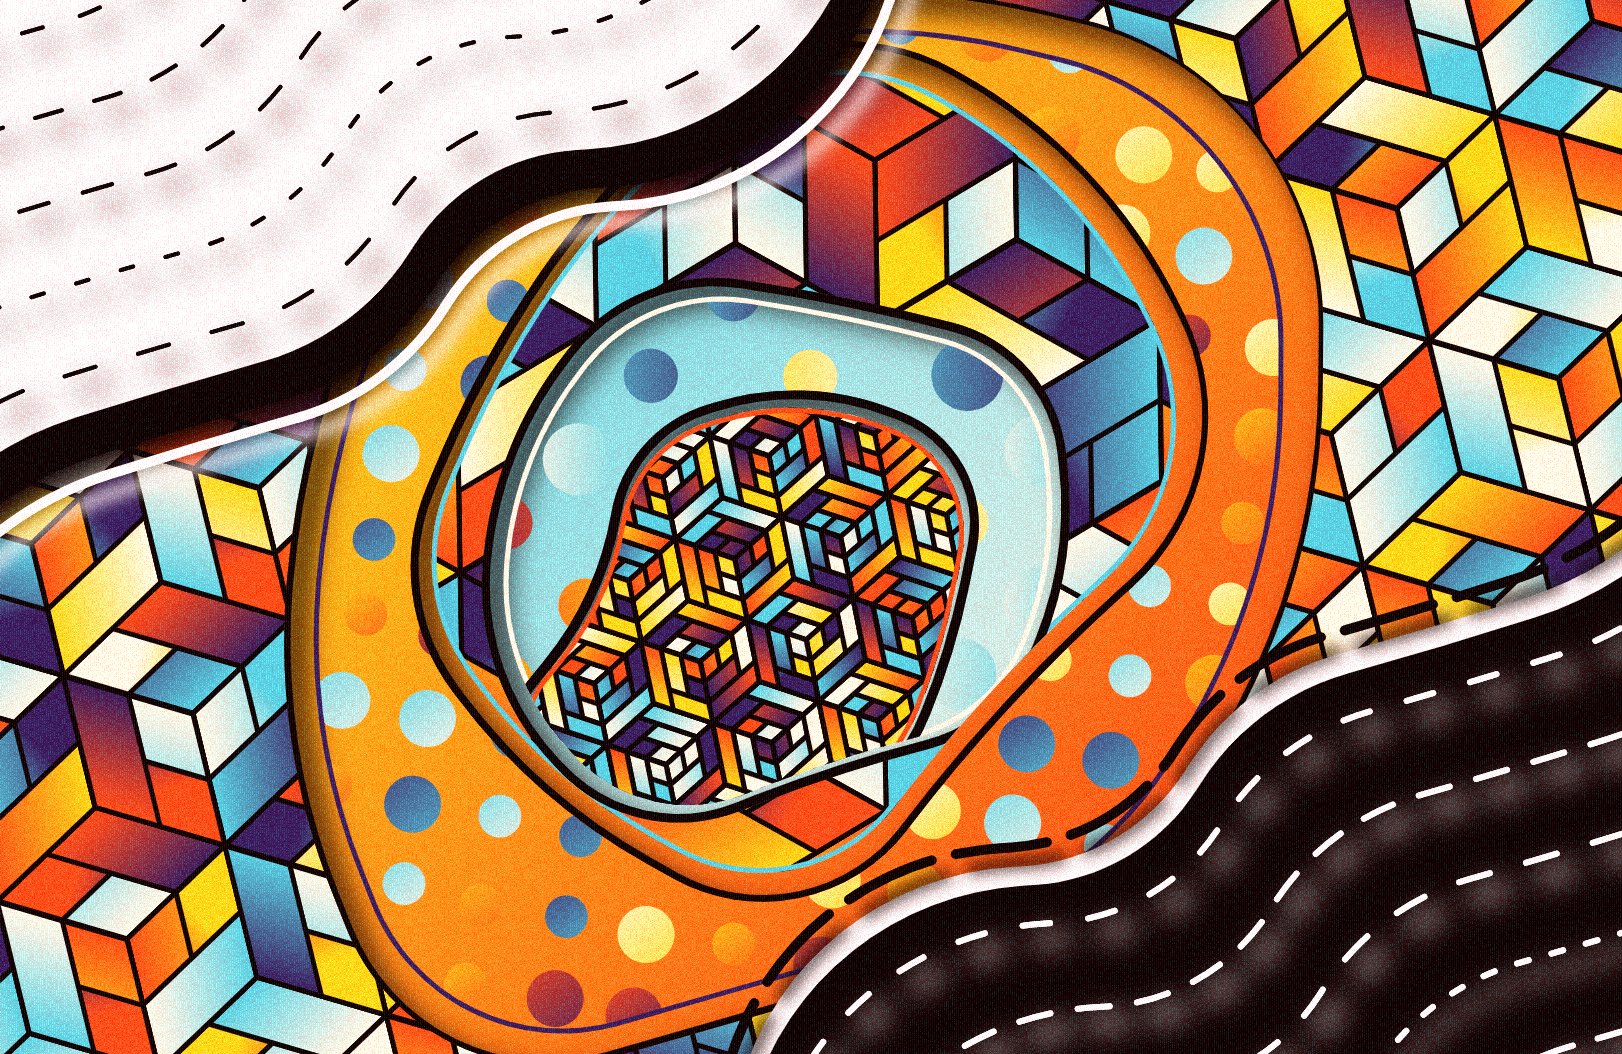
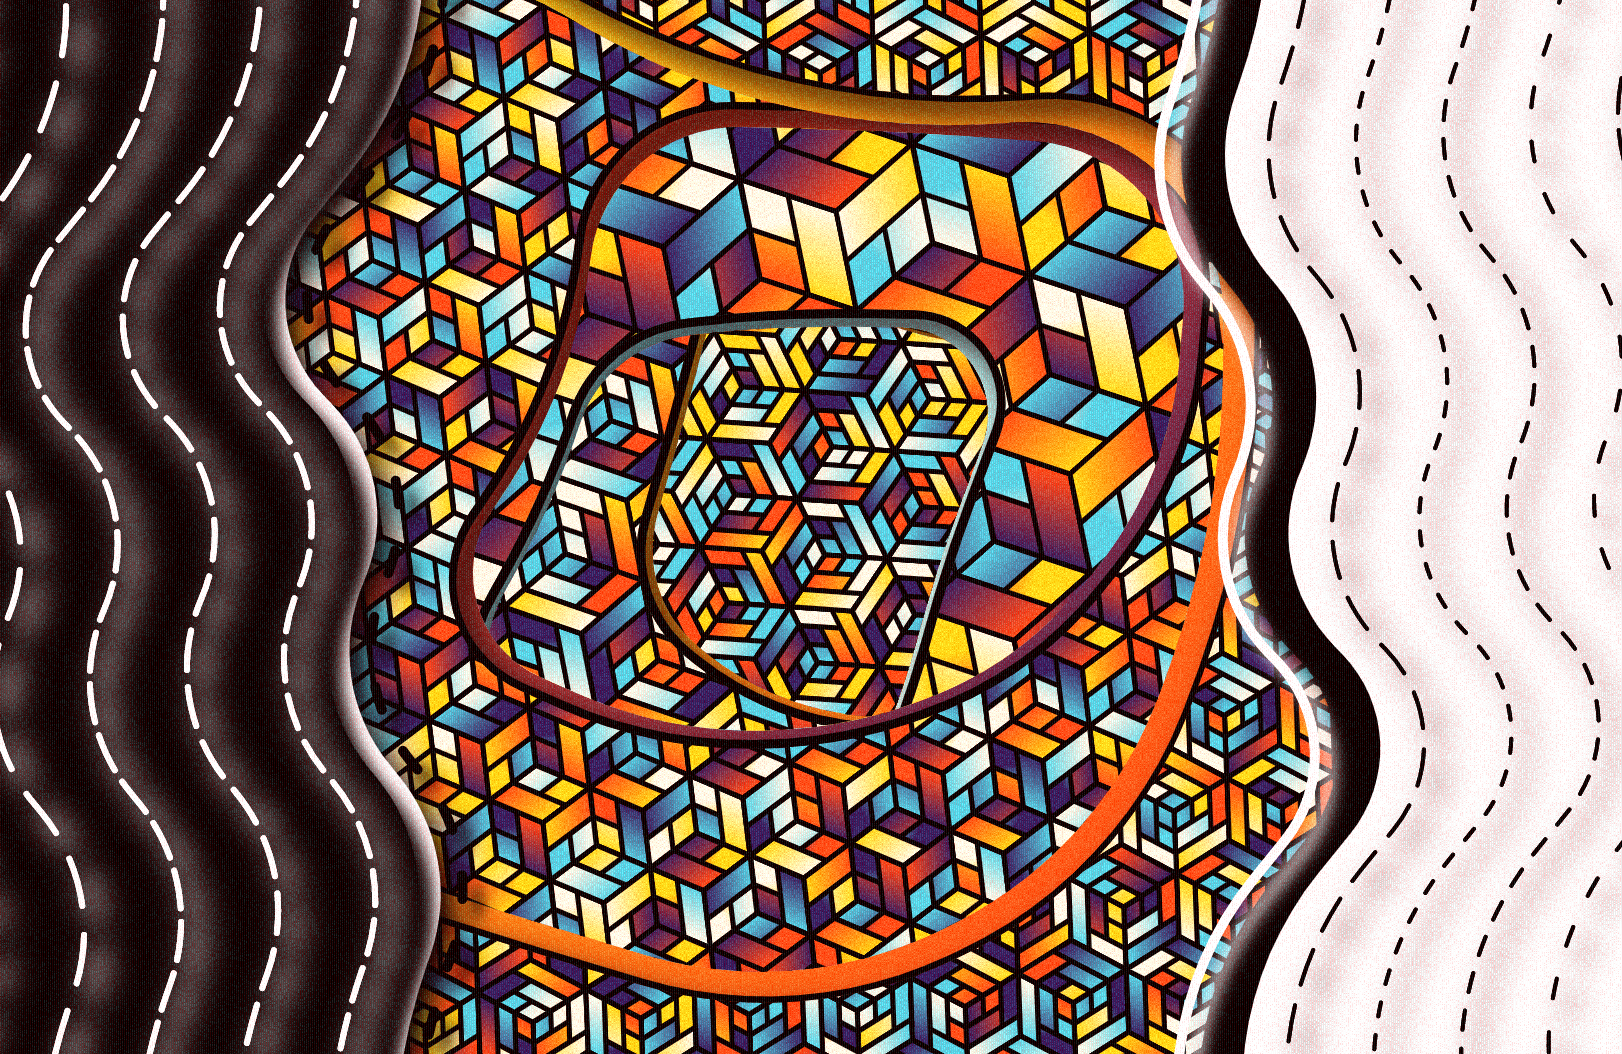
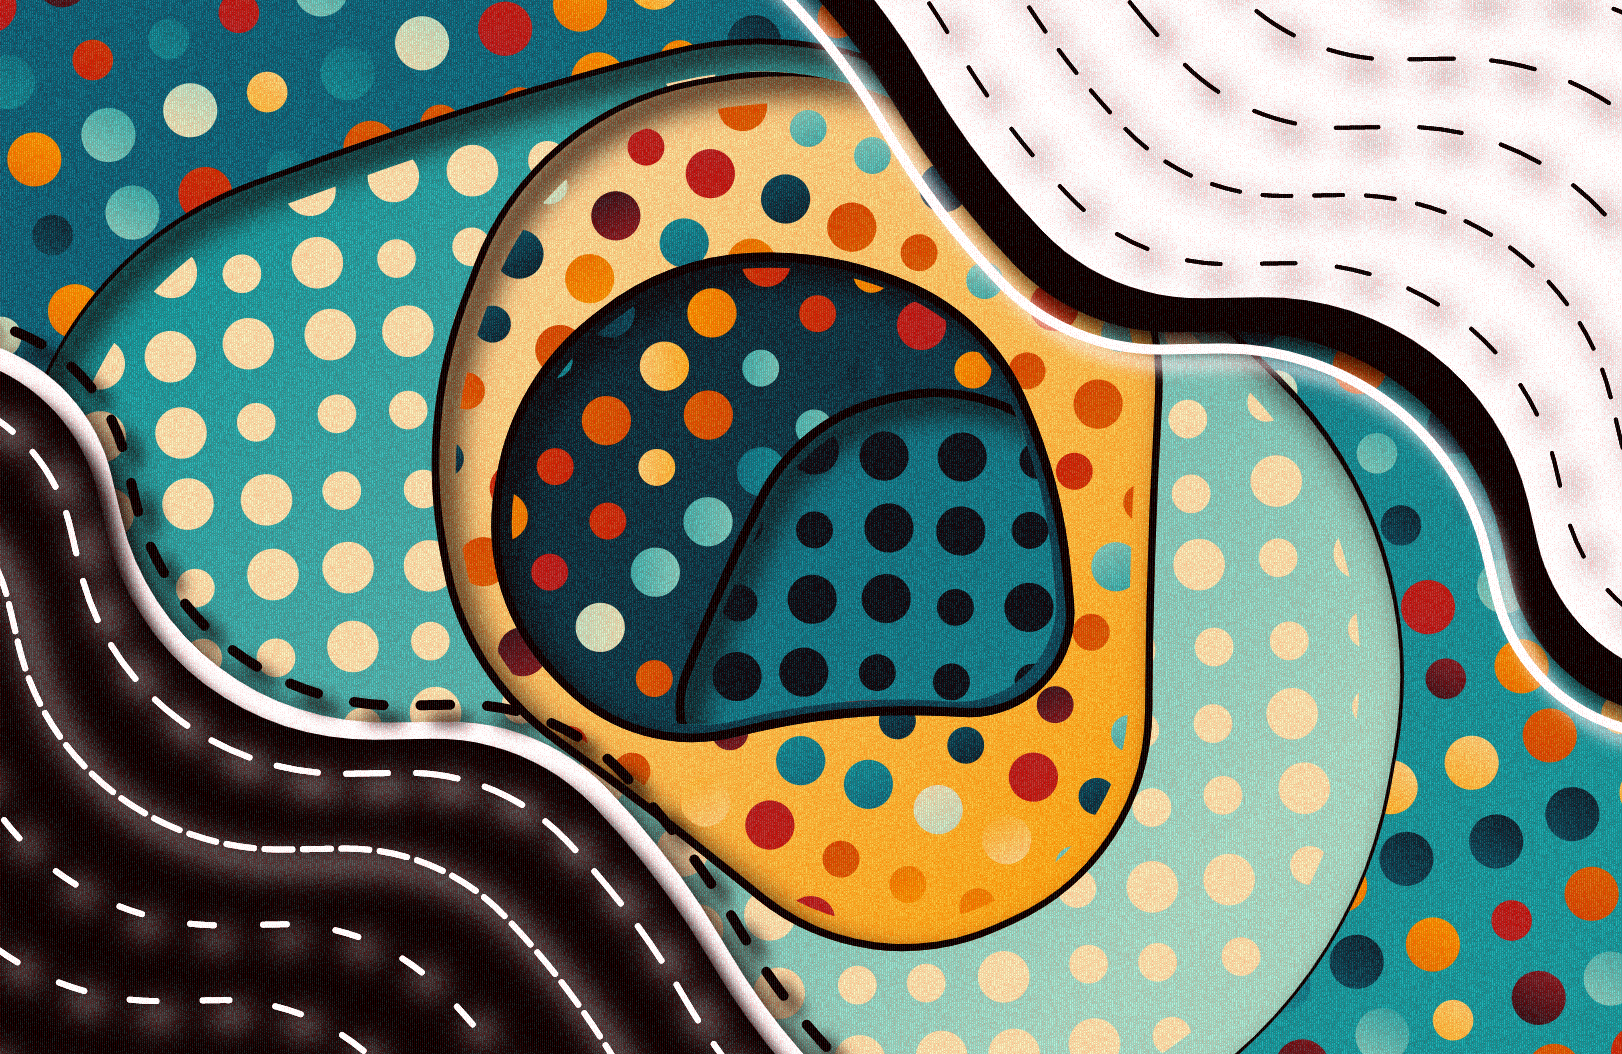
You can check out the entire collection here. I think that there's a couple of cool things going on in the sketch, that from a technical and ideative point of view are worth inspecting a little bit in more detail:
- From initial idea to final sketch
- Setting up our sketch with the OPC Configurator 3000
- Creating smooth Polygons
- Clipping out Regions
- Notes on preserving sketch determinism
- Resizing and Rescaling
- Closing Notes
From initial idea to final sketch
Early February Sinan reached out to me, and sent me some of my sketches that he had seen and thought could be a good fit for the Crayon Code raster. I took a couple of days to dig up their code from my hard drive and assess which ones had enough variety to be turned into generative tokens. The ones that he especially liked were the following:
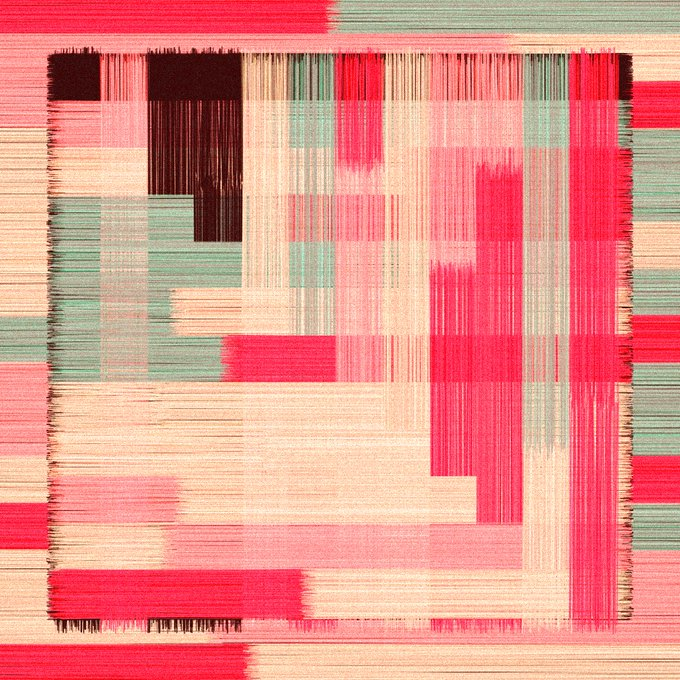
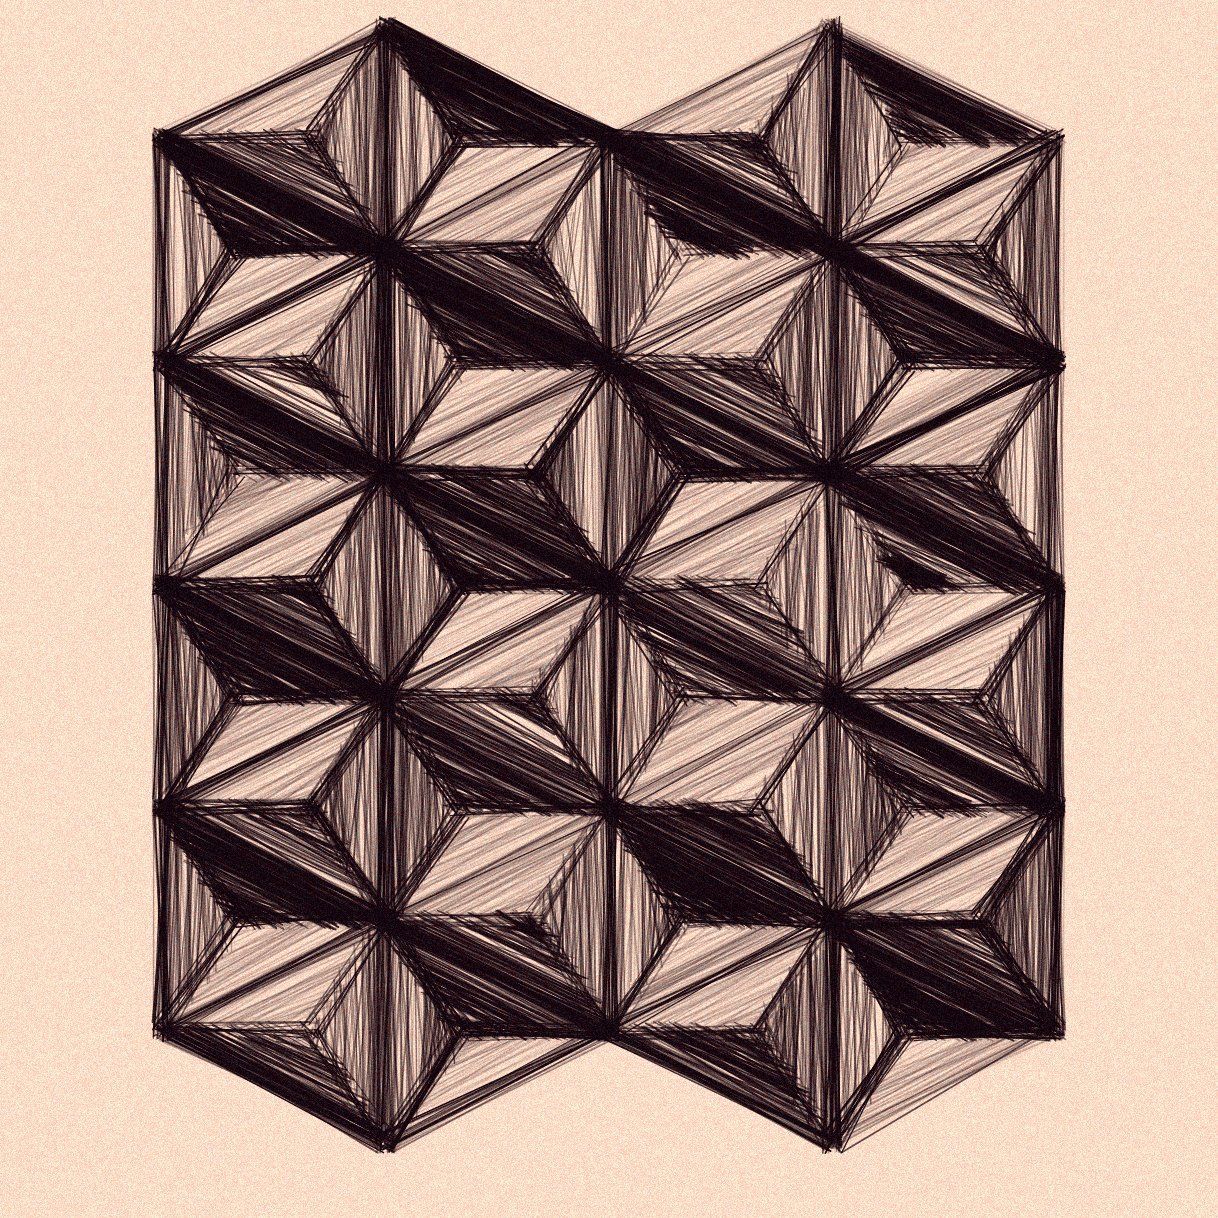
However I wasn't certain if it was possible for them to have enough variety to create an entire collection. And I already had made my 'scribble' sketch on fxhash which explored a similar avenue. I did come up with some variations however to see if I could push the idea in a different directon:
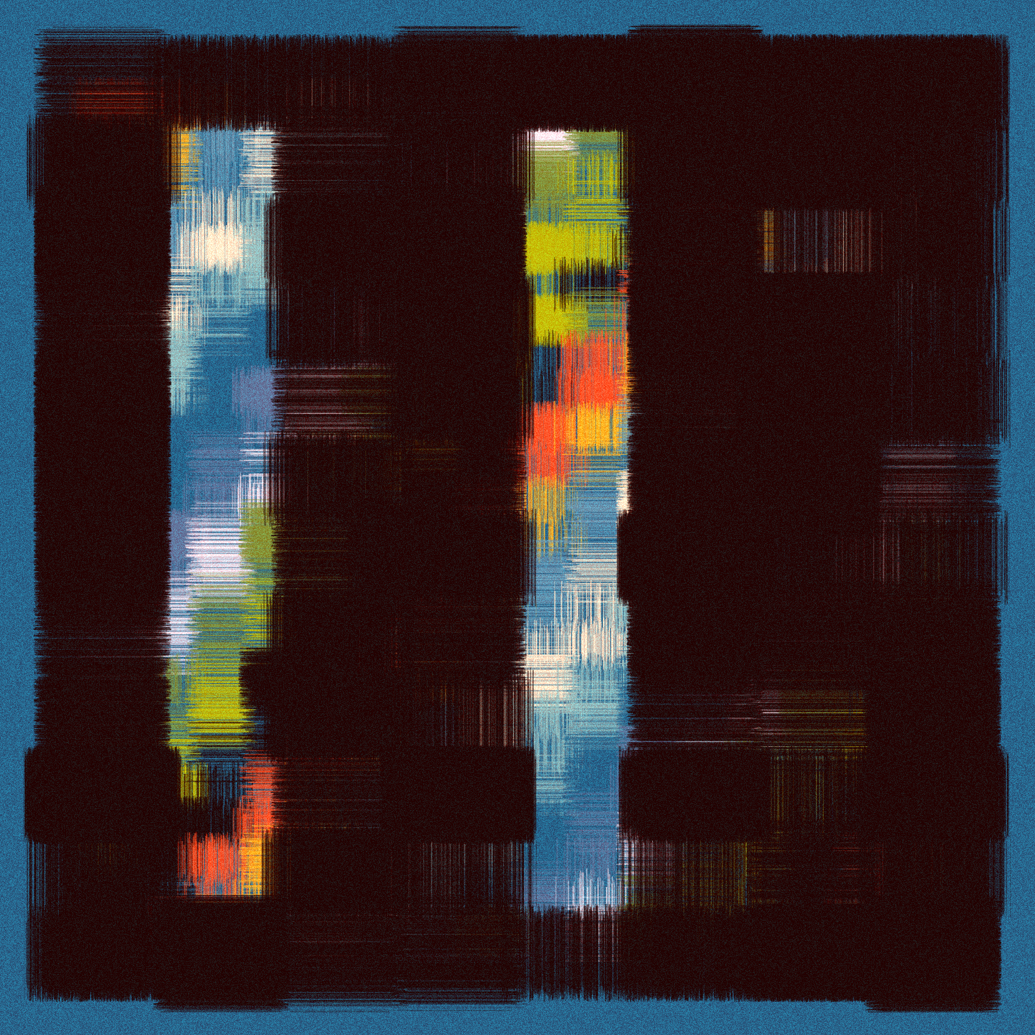
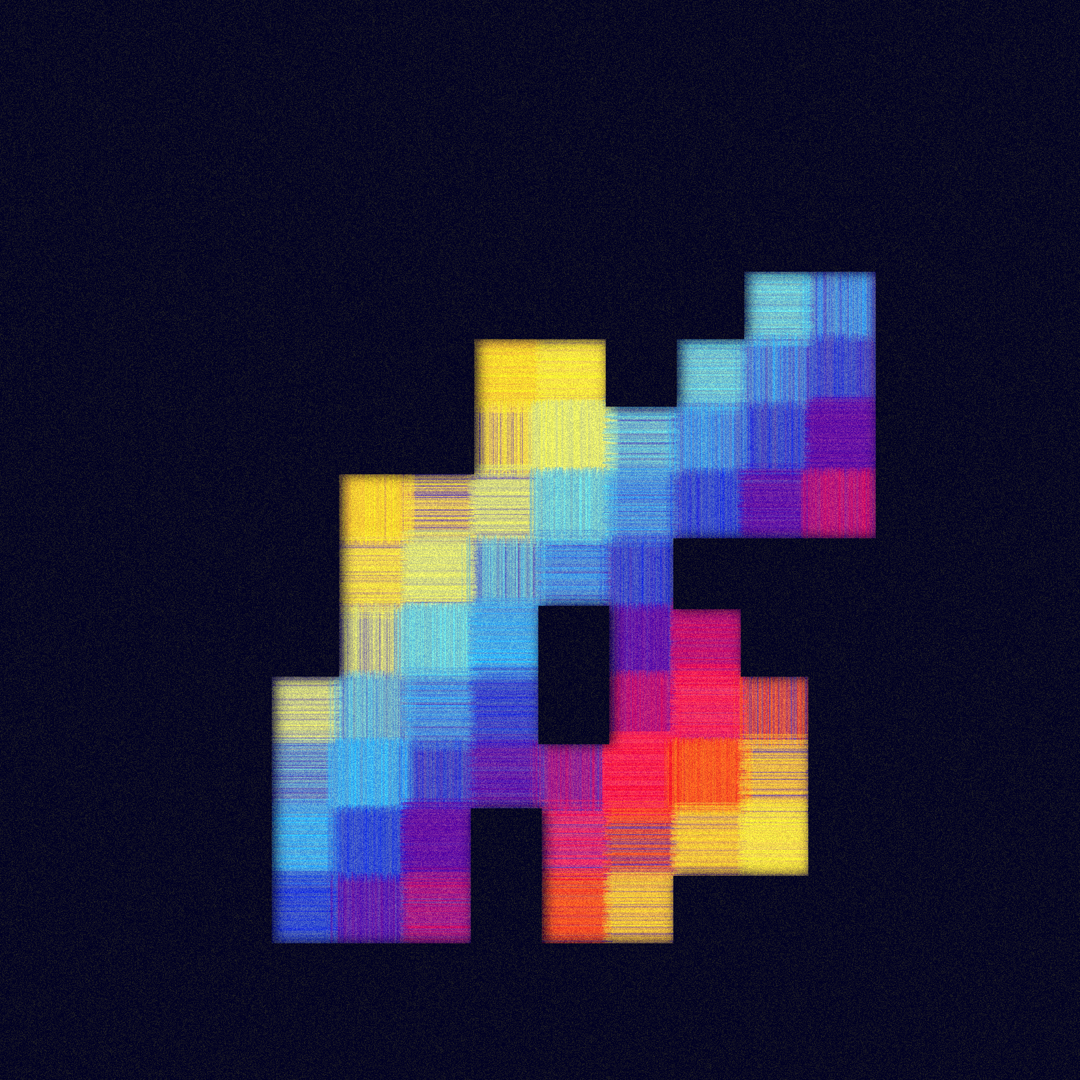
How I ultimately arrived at what 'Behind the Canvas' ended up being, might sound like a far stretch, but my brain works in mysterious ways. What Sinan liked about the two previous sketches, was the 'rug' like texture of them, and how the edges of the lines overlapped with each other.
I pondered a bit on that, and wanted to see if I could somehow make a sketch that didn't convey the texture of fabric, but rather a different property. I explored some other ideas that came to mind, one of them being an attempt at emulating a tear or split in some sort of fabric. I ended up with something that looked like the following:
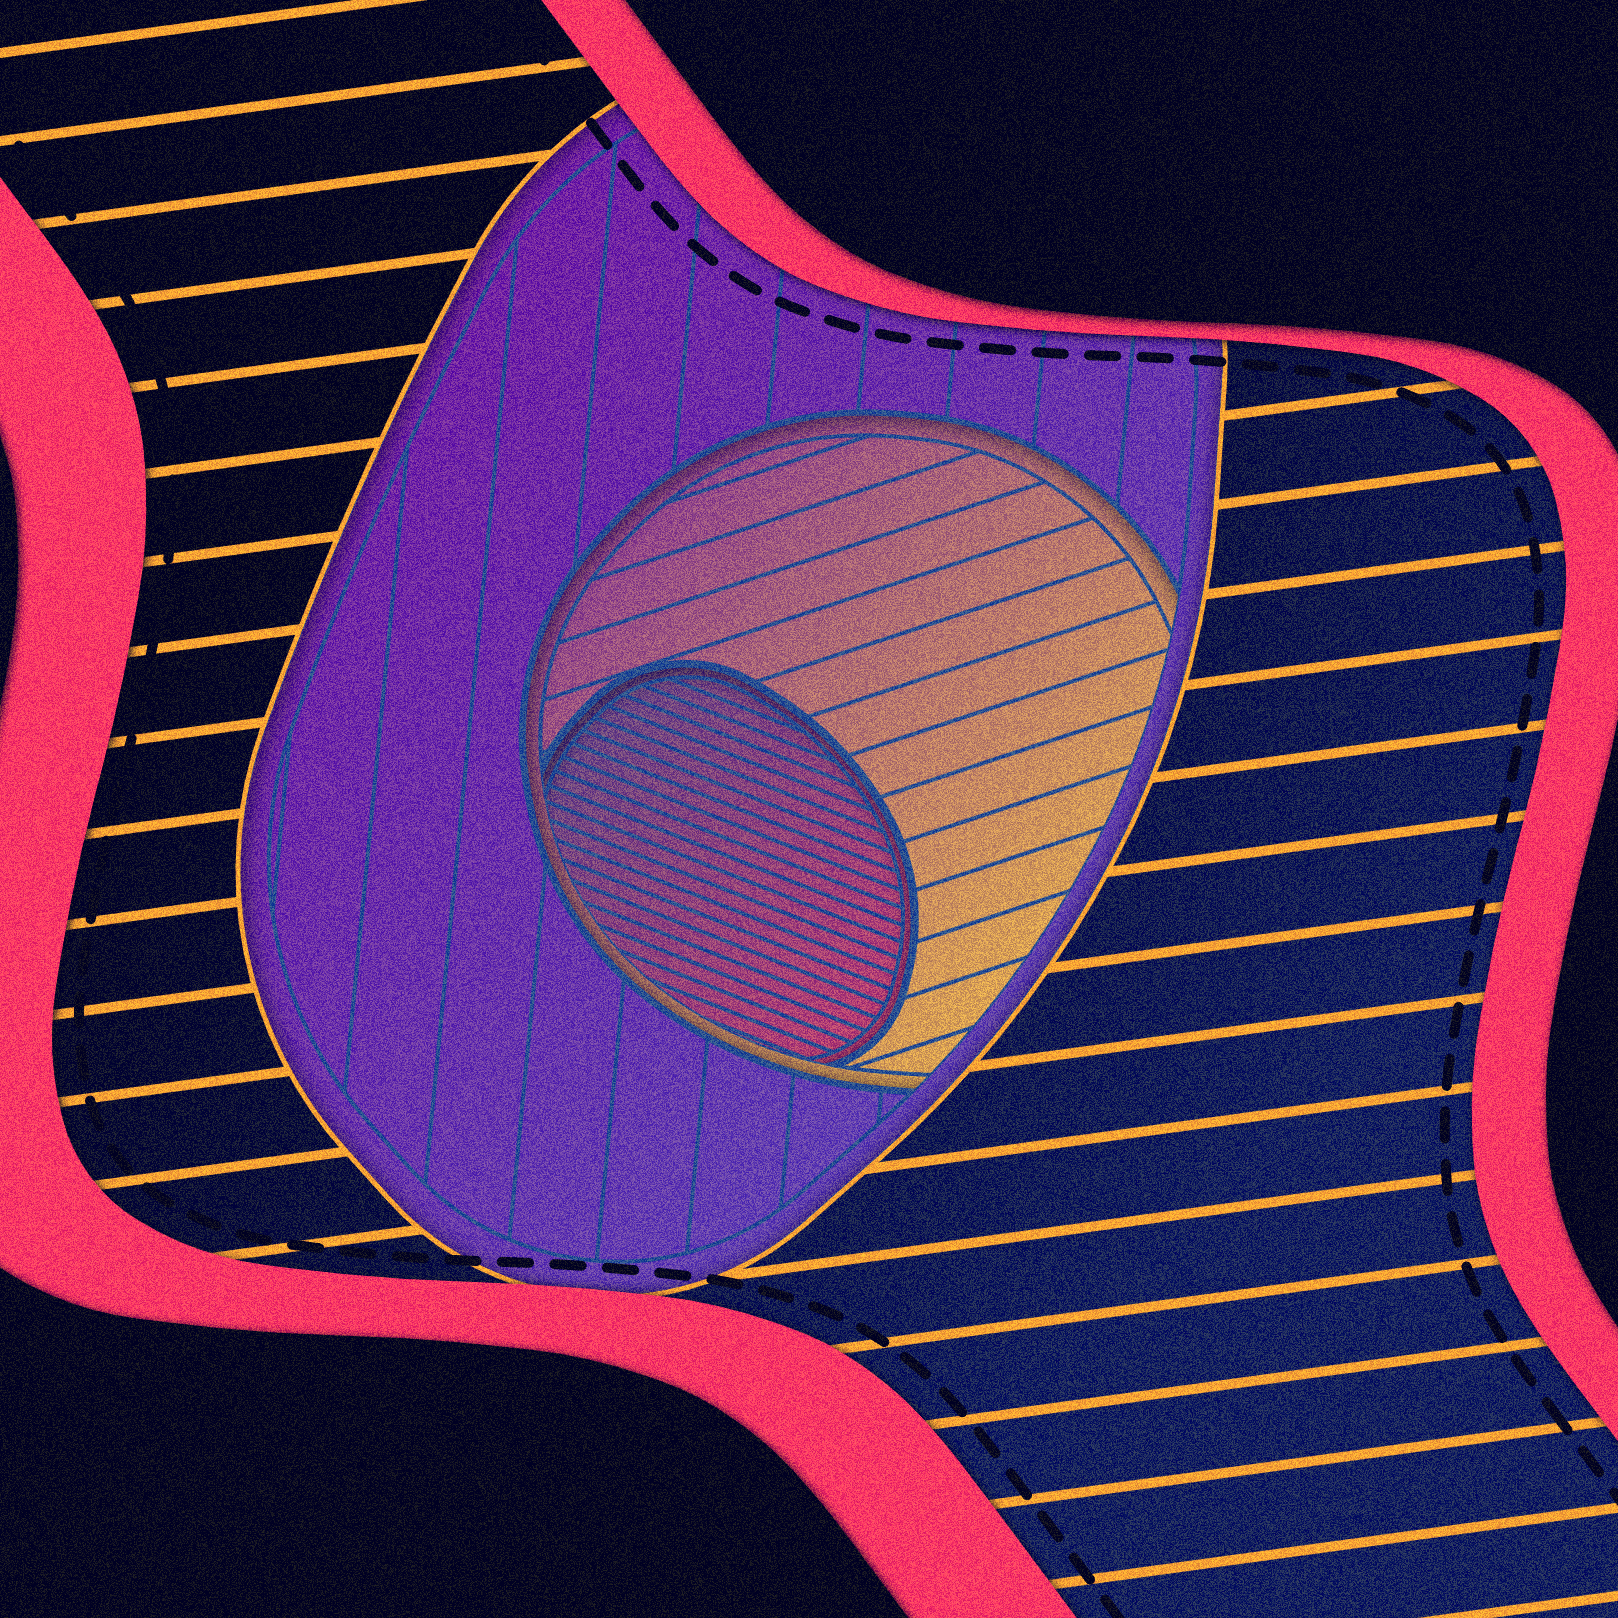
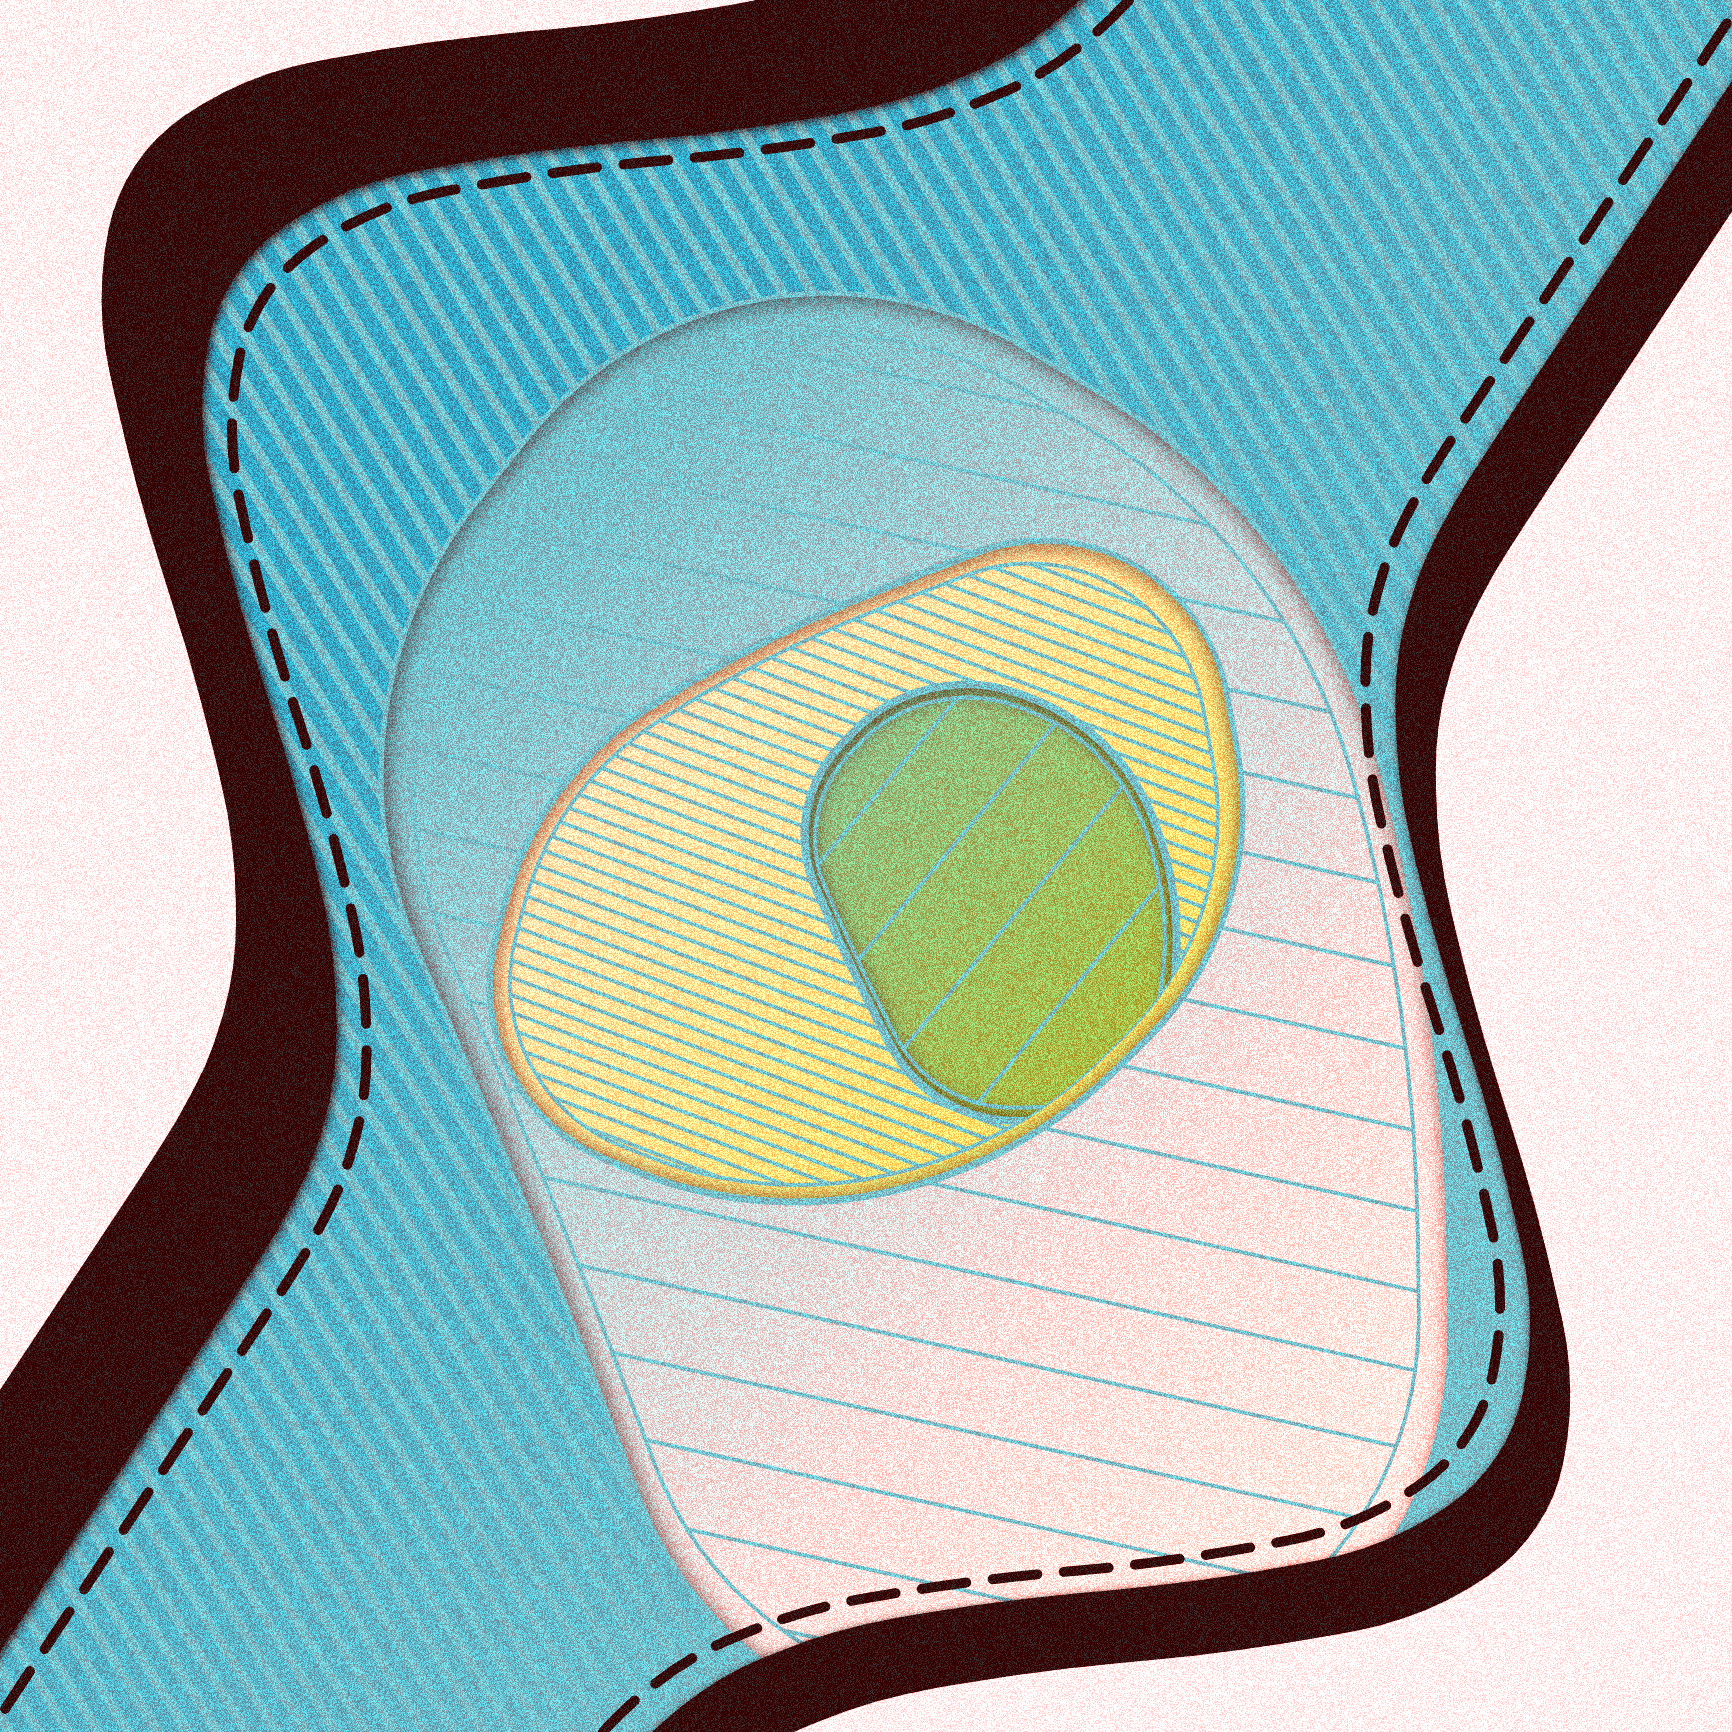
And from here on it's probably obvious how the sketch developed further.
Setting up your sketch with the OPC Configurator 3000
A good starting point for figuring out how to weave the Configurator into my code were previous Crayon Code sketches, which conveniently have their code publicly visible. There's a couple of ways to do this, depending on how you structure your sketch, if it's animated or not, and how you want to incorporate the initial random seed throughout your sketch. The most fitting way to do this for my purposes, was how Okazz handled it in his 'Crack' sketch, which only draws and redraws the graphics to the canvas on three occasions:
- An initial rendering pass
- Whenever one of the OPC parameters changes
- Whenever the sketch/window is resized
This was important because running the sketch that I had in mind in real-time would have been very laggy, and since it doesn't have any animated components it doesn't need to do so. Hence it was sufficient to update the sketch only when the parameters changed, or when the window is resized. Let's have a quick look how their method handles this! We'll first have to make some sliders to work with:
/** OPC START **/
OPC.slider('seed', Math.floor(Math.random() * 1000), 0, 1000, 1);
OPC.slider('parameter1', Math.floor(Math.random() * 5), 0, 5, 2);
OPC.slider('parameter2', Math.floor(Math.random() * 5), 0, 5, 2);
/** OPC END**/
Invoking the OPC.slider() function will create a slider in the small UI widget (that you'll see in the top right corner when you run your sketch), but will also create a variable in your code which will contain the selected slider value. The created variable will then have the same name as the string that you pass to the first parameter. You also need to specify a default starting value, a minimum value, a maximum value and the step amount, in that order. For example:
OPC.slider('seed', Math.floor(Math.random() * 1000), 0, 1000, 1);This slider will create a variable called seed, with a random starting value in the range of 0 and 1000, and gets incremented by 1 when you drag the slider. You can now use the seed variable throughout your code. Now to resume with Okazz's method we need to declare a couple more things:
let pSeed = seed;
let pParameter1 = parameter1;
let pParameter2 = parameter2;
We need a placeholder value for each slider. This seems redundant but will make sense when we look at the draw function call:
function draw() {
	if (seed != pSeed || pParameter1 != parameter1 || pParameter2 != parameter2) {
		generate();
	}
}
Essentially, we will only call the generate() function if any of the slider values have changed. Here the generate() function is where we put all of the things that render graphics to the canvas. This generate function will also be called at the end of setup and when the window is resized:
function setup() {
	createCanvas(windowWidth, windowHeight);
	generate();
}

function windowResized() {
	resizeCanvas(windowWidth, windowHeight);
	generate();
}
And then we just need to update the temporary values at the top of the generate function:
function generate() {
	pSeed = seed;
	pParameter1 = parameter1;
	pParameter2 = parameter2;

	randomSeed(seed);
	noiseSeed(seed); // if you make use of perlin noise also seed noiseSeed()

  // other stuff
}
It's also important that you set your random seed here at the very top, this is to ensure that the same seed produces the same sketch every time the generate() function is run. I go into this a bit more in detail in a later section, but if we wouldn't set the random seed here, on a subsequent generate() calls we would get completely different sketches. Having discussed this necessary boilerplate component, we can move on to main pat of code that actually generates the visuals. This code will be contained within the generate function, and optionally also inside other helper functions that will be called from the generate function.
Creating smooth polygons
The main portion of the sketch consists of patterned layers, each of which has an opening in the shape of a deformed circle that gives way to the next layer. I've already written about deforming a circular shape with perlin noise here, however this time I did it a little differently reusing my smooth polygon code for a slightly different aesthetic that does not require perlin noise. If you're interested you can read up on it, but it is not necessary to understand the remainder of this post.
Let's begin by positioning a couple of points in a circular fashion and offsetting them slightly by a random amount:
We obtain a relatively pointy shape when we connect the vertices that we positioned. Here's where we'll reuse the smooth polygon algorithm, to shave off those pointy corners:
And that's the beauty of reusing and building on top of code you've previously written! Here I knew exactly what shape I wanted and how I could achieve it, and it felt really good achieving it with a simple function call.
Clipping out regions
Next we will have a look at the rendering context's clip() function. Clipping here means cutting out a certain region/portion of the canvas, such that only things inside this specific region are visible, whereas everything that falls outside of it is hidden. Let's have a look at a quick example:
Basically, using the clip() function consists of first drawing a shape that will constitute the clipping region, then calling the clip() function, and thirdly drawing whatever we want to have contained within the clipping region. Note that the shape you're clipping out needs to have a stroke for this to work. If aesthetically you don't want it to have stroke you can still set strokeWeight(0) and the region won't have a stroke. In this example, we're simply clipping out a few parallel lines to obtain something that looks like a hachure.
Now we can chain these clip calls one after another to have several clip regions within each other, which is essentially how the circular openings in 'Behind the Canvas' were made. Here's an example of this:
The thing of note here is that on subsequent clip calls we need to draw a clip region with a fill, such that it hides the pattern of previous layers which it overlaps. So far we've only done it with simple circles, let's combine it with the irregular shape that we've made earlier:
IMPORTANT! Here, to improve visual separation, prior to making the clip call, we precede the clip region by the exact same shape, that is slightly larger and has a fill. This makes sure that the previous pattern doesn't overlap with the new one and has some padding in between itself and the previous layer. If we would use shapes that have no fill, we end up with something that looks like this:
Which also makes for an interesting effect, but that's for another sketch. Ultimately, chaining clip calls might not be very intuitive. but it makes for a very interesting visual effect! And maybe you already noticed, but we could substitute the drawPattern() function for any other kind of pattern and it would still work, which is neat.
Another visual improvement we can make is adding a slight shadow between layers, to make it seem as if previous layers are somewhat elevated with respect to subsequent ones. We can also make use of the rendering context for this:
Here it gets a bit tricky, because we need an additional clip call. I wanted to have the slightly larger shape cast a shadow, for this we can hide an identical shape underneath itself and momentarily toggle on the shadow (using the shadowBlur parameter) and then toggle it off when we don't need it anymore. Finally let us add some color to the mix:
And that should cover all bases for the main portion of the sketch! I won't go into too much detail on the patterns, but for hexagonal grids you can find my tutorial on them here, as well an OpenProcessing sketch on the main pattern here.
Notes on preserving sketch determinism
This is an aspect of the sketch where you really have to make sure that everything is done correctly. Having a few fxhash sketches under my belt, I've had a good amount of practice with this, but I still do get some situations where I have to scratch my head for a bit before I can figure out what's wrong.
For example, I oftentimes make a random call within a for loop that depends on a variable that, well, varies over the course of the sketch, increasing or decreasing the number of random calls that are being made. This naturally breaks the determinism of the sketch. I intend to discuss this specific issue at length in an upcoming blog post, but I will give a few examples of things that should be avoided:
rand = random(W/5, W/2)
For example we can not have random calls that depend on another variable, it needs to be agnostic and should rather be written as follows:
rand = random(1/5, 1/2)*w
And another example that is not admissible, is having a varying number of random calls:
for(let n = 0; n < windowWidth; n+=step){
    someFunction(random())
}
Here we would have to make sure that this for loop makes the same number of random() calls each and every time it is executed. This is tricky because what happens when you resize your sketch horizontally? You would either have to make the increment value 'step' scale with the window width, or make this loop independent from the window width altogether. There are a couple of strategies to approach this, but it will have to wait.
Resizing and Rescaling
This previous issue leads directly into how we handle scaling and resizing of the sketch, which was also one of the more tricky hurdles to overcome. I've come to the opinion that there isn't really a universal solution to this specific problem, and it really depends on how you want your sketch to behave when you resize it.
An important factor to consider here, is how we tie the window dimensions into the random elements of the sketch as we discussed before. To exemplify this, let's make the sketch, that we have coded up to this point, window scale and size agnostic.
Ideally, we would like to have our sketch span across the entire canvas, but keep the main portion centred and scale regardless of the aspect ratio. Let's setup our sketch in that manner:
function setup() {
  w = min(windowWidth, windowHeight)
  createCanvas(windowWidth, windowHeight);

  // other setup stuff

  generate()
}

function windowResized(){
  w = min(windowWidth, windowHeight)
  resizeCanvas(windowWidth, windowHeight);
}

function draw() {
  generate()
  noLoop()
}

function generate(){
  randomSeed(seed)

  // other stuff
}
Here we create a canvas that takes up the entire window, and we make use of p5's windowResized function that triggers when the containing window is resized to adjust the canvas dimensions accordingly. We also keep track of the minimum dimension, which we will use in a second. Additionally, we reset the random seed at the top of the generate function such that the same random calls are made whenever it is rerun. And if you've had a keen eye you will also notice that there is noLoop() statement at the end of the draw function, in which case it shouldn't be redrawn when we resize the window. The resizeCanvas() function however calls the draw() function when it is done resizing the canvas dimensions.
As for the the main shape, if we base our dimensions off of a variable that is tied to the screen dimensions, we can make all the drawn shapes adjust their size when redrawn, and here's an example to show how this works:
function generate(){
  randomSeed(seed)
  translate(windowWidth/2, windowHeight/2)

  clipLayer(w/2)
}

function clipLayer(size){
  verts = makeShape(size);

  roundedPoly(ctx, vertices, 9999);
}

function makeShape(R) {
  let vertices = [];
  for (a = 0; a < TAU; a += TAU / 9) {
     rad = random(1 / 2, 1) * R;

     x = rad * cos(a);
     y = rad * sin(a);

     vertices.push({x: x, y: y})
  }

  return vertices
}
We base the radius of the blobby shape off of the minimum dimension of the canvas, and this way ensuring that it will scale along with it, when the canvas is resized. Here is an example in the OpenProcessing editor where you can see this in action, just drag the middle separator and observe how it behaves!
Closing Notes
If you've reached here, thank you for reading! I believe I touched upon all the facets of the sketch that were worth mentioning. Ultimately, what I've realised from projects like this one, is how important it is to complete them, even if you ultimately aren't 100% happy with them. In other words, you can only get better at the entire process, from ideation, to coding up initial versions, to releasing your final sketch, by going through the entire process several times. I think I will be much more confident with my next projects, having more experience as well as more reusable code to back me up in the future.
And again, before my writing becomes unfocused, I am incredibly grateful to everyone who has collected an edition, as well as everyone who has shown me support on Twitter in any form or shape! Thank you, and happy sketching!
