And another installment in the physics system series that I started a couple of weeks ago. I didn't anticipate writing this many posts on the topic, but I kept finding interesting things to extend the system that we've built thus far. In this post we'll have a look at springs: elastic connections with which we can tie together two particles. We'll also revisit a concept that I've covered in the early days of the Gorilla Sun Blog: Hooke's Law! Lastly we'll also have a look at creating dynamic and bouncy meshes with our springs and particles.
A couple of days ago I was brainstorming new topics to write about, and my mind circled back to the particle system. I felt like there was a lot more there to unpack. For instance, how could I make the system more interesting? In it's current state the particles have a bit of a sad existence: although they can repel each other, there really isn't much more that they can do. What if we repurpose them and give their existence a new meaning. What if we tried to connect these particles, with a link, or an edge of some sorts? What would that end up looking like?
And how would you even code something like that? Now, the particles aren't only impacted by collisions with other particles, but an additional force comes into play, dragging, pulling and pushing it in various ways. The edge itself in this case also has some physical properties: it has a rigidity and an elasticity and needs to be able to exert a force on the particles that it's connected to. I'm making it sound more complicated than it actually is, but that's all of the things that we'll need to consider before we get started.
Here's the previous articles to get you up to speed:
A fun and lighthearted exploration of the capabilities of ChatGPT for creating different kinds of particle systems in P5JS

Coding a particle system from scratch covering all the necessary concepts from object oriented programming to simulating and coding physics.
A method for optimizing the previously programmed particle system, allowing us to crank up the number of particles and creating very large systems.
And here's what we'll make in this post:
You can rerun the sketch a couple of times to see variations, as well as click and drag the particles around the canvas.
The Particle System so Far
Thus far we've put together a neat little object oriented particle system: particles are self-sufficient entities that can move around on the canvas and can detect other particles, colliding and bouncing off of them. Later on, we also added in a grid-lookup which speeds things up significantly, allowing us to draw a relatively large number of these particles to the canvas.
To briefly summarize, in the first post, we created the heartpiece of our code: the particle class. It allows us to instantiate several particle objects. This particle class has a number of member variables that describe it's position and movement, where the movement is described by a velocity and acceleration vector. In every iteration of the draw loop we update the position of the particle according to these vectors and simultaneously check for collisions with other particles which can in turn affect the values of these vectors.
Furthermore, since we don't necessarily know which particles are currently in the vicinity, we theoretically need to check for a collision against all other particles. This can get quite slow. A smarter way to do this, is by only checking for particles that actually are in the vicinity, and a convenient structure that allows us to do so is a grid (lookup). This grid divides the canvas into several cells, and at any given moment, a particle can only touch upon a few of these cells. Hence we only need to fetch the particles that are also currently in these cells and check for collisions against those.
From a bird's eye view, this is already all there is to it. Naturally implementing this is a different beast, which you can learn about in the previously linked posts.
Springs and Brush Strokes
This is a topic that is near and dear to my heart, since it's one of the first things that I studied when I found my way into creative coding, and I've touched upon springs in this previous article from way back when:
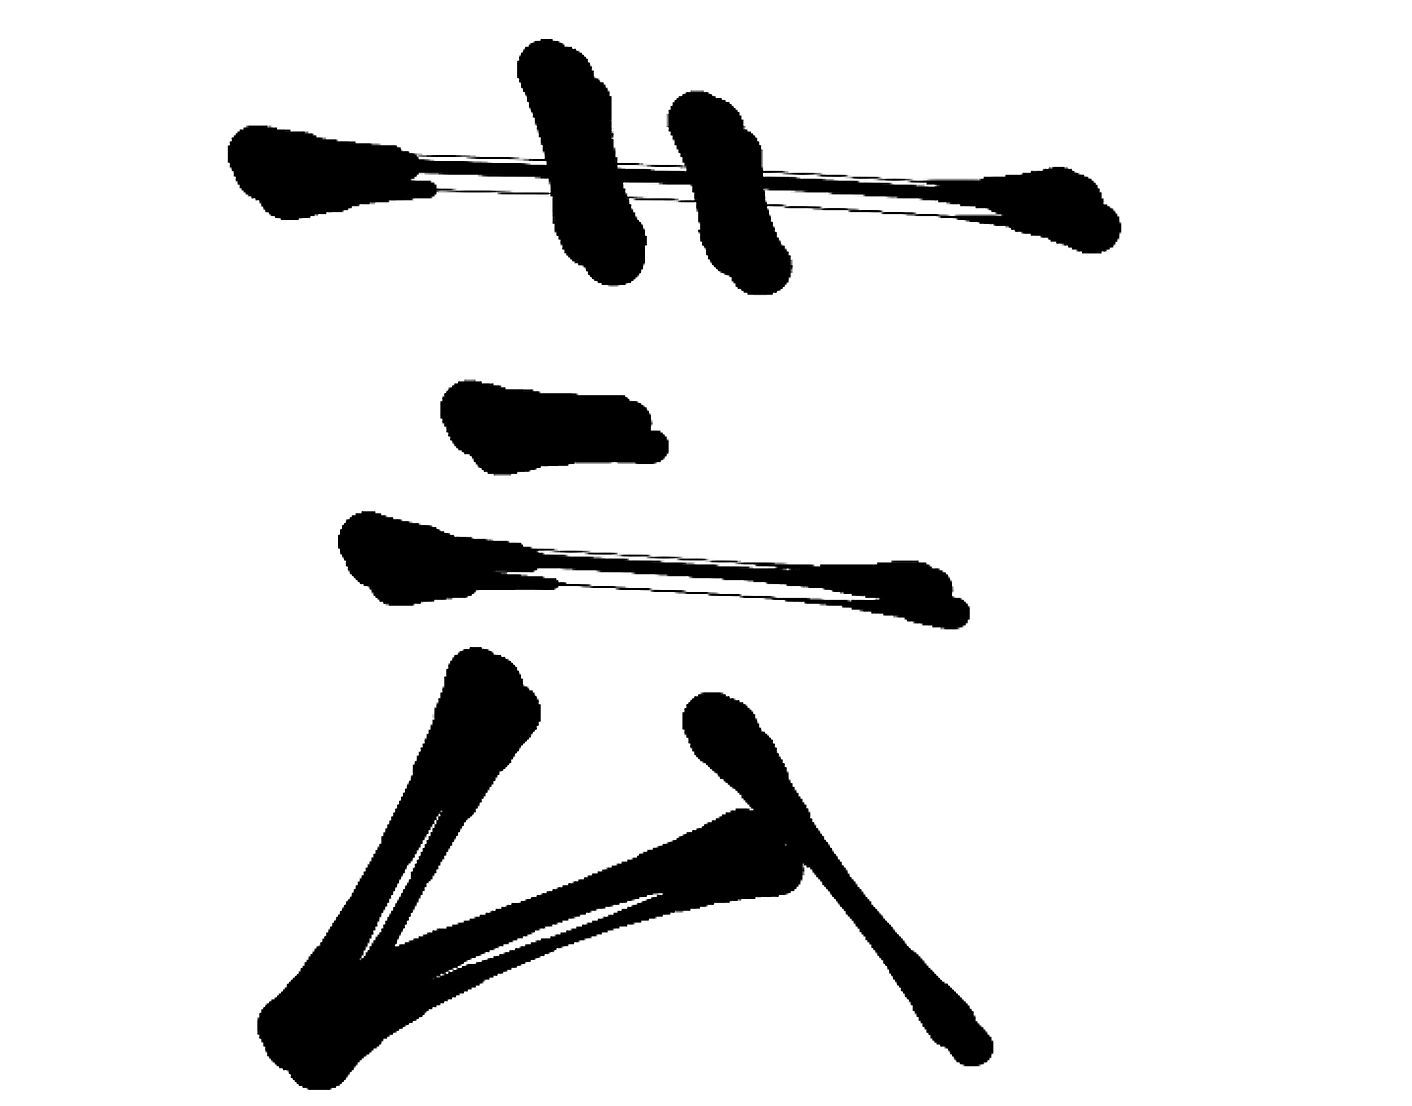
I came across a sketch on OpenProcessing by a Japanese user going by the name of Bun. The sketch revolved around drawing pretty convincing and realistic brush strokes. I thought that this was super cool and dove straight into the code, discovering that there was also an accompanying tutorial for it.
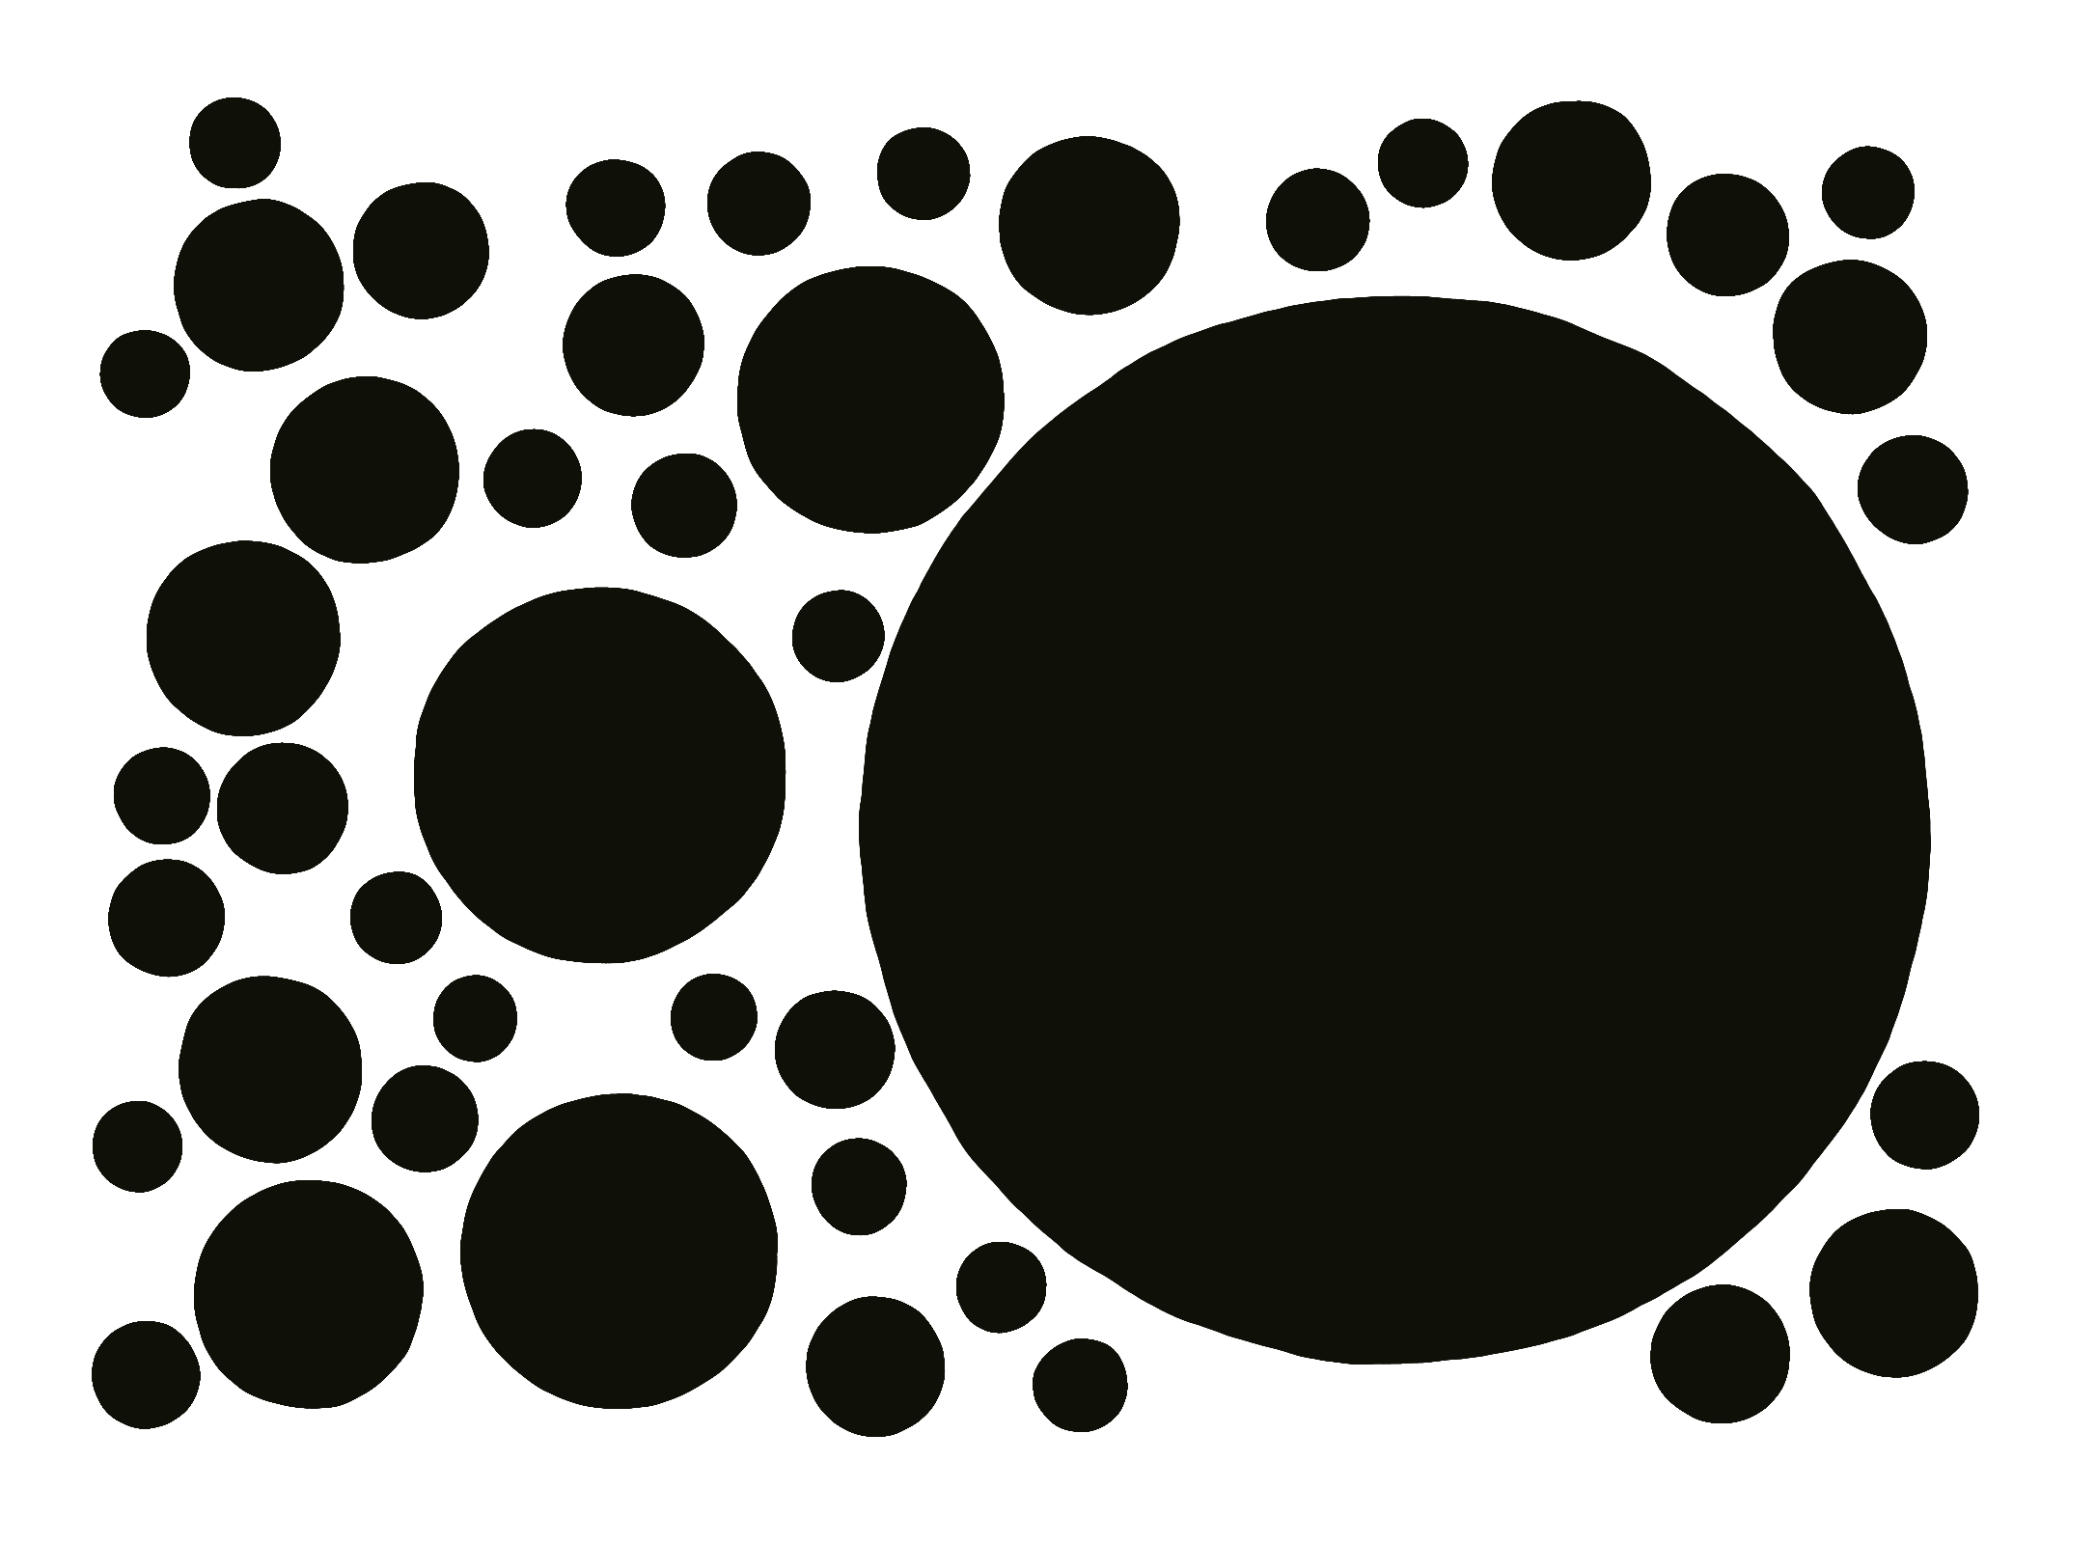
Now, the million dollar question is, what do these brush strokes have to do with springs? Well, the brush in this case is actually simulated by means of a spring that's dragged behind the cursor, all while depositing 'ink' on the canvas. The ink in this case simply being many circles that vary in size depending on how fast the brush is being dragged.
To simulate this spring we make use of a formula from a dude name Robert Hooke. We'll get into what this formula is about in the next section!
Hooke's Law
So what's Hooke's Law? In the 17th century Robert Hooke formulated a very neat way to represent linear elasticity. It's essentially a principle in physics that describes the relationship between the deformation of a spring (the change of its length) and the forces applied to this spring. It states that the force required to extend, or compress, a spring from it's natural rest length, is directly proportional to the amount of displacement from said rest length.
Mathematically this relationship can be expressed with the following formula:
\( F = -k*x \)
Here, F is the force applied to the spring, k is the spring constant, basically the stiffness parameter, and x is the amount of displacement. Here, the negative sign is required, because the force of the spring counteracts the external force and pushes in the opposite direction. We'll see how this translates to code in just a second.
Connecting Particles with Springs
Let's implement what we've discussed in the previous section, starting off with a spring class that we'll subsequently use to connect two particles:
class Spring{
  constructor(particleA, particleB, restLength, stiffness){
    this.particleA = particleA
    this.particleB = particleB
    this.restLength = restLength
    this.stiffness = stiffness
  }
}
The first two member variables of our spring class are self-explanatory, simply references to the two particles that the spring is connecting with each other. To correctly simulate the behavior of a spring, we need to make use of the positional information of the two particles that it's connected to.
The other two parameters specify the length of the spring at rest as well as a stiffness factor. The rest length of a spring is the length of the spring when it is in its undeformed, unstretched, or uncompressed state, its the natural length that the spring assumes when there are no external forces applied to it. Generally, springs naturally counteract the external forces exerted on them and try to return to their rest length. The stiffness factor is one such parameter. It determines how strongly the spring counteracts these external forces: the stiffer a spring the more reluctantly it will deviate from it's rest length, and the more force has to be exerted on it to make it deviate from it's rest length.
Now, let's see how this works - here's the update function of our spring class, again making use of P5's useful vector class and functions:
 update() {
    // 1
    let d = p5.Vector.sub(this.particleA.pos, this.particleB.pos)

    // 2
    let dst = d.mag()

    // 3
    var deformAmount = dst - this.restLength;

    // 4
    var restorativeForce = this.stiffness * deformAmount // F = -kx

    // 5
    let f = p5.Vector.mult(p5.Vector.div(d,dst),restorativeForce)

    // 6
    this.particleA.addForce(p5.Vector.mult(f,-1));
    this.particleB.addForce(f);

}
There's a couple of parts to it, let's go over them step by step:
- We compute the distance between the two particles, simply by subtracting their positional vectors from each other.
- We turn this quantity into a positive value: we can conveniently use the mag() vector function which computes the following sqrt(d.x . d.x + d.y . d.y).
- We compute the amount of deformation (extension or compression), by subtracting the distance between the particles from the length of the spring at rest. The sign of this value in this case indicates if the spring is compressed or extended.
- Hooke's Law: we compute the force that the spring has to exert to counteract the particles pull on the spring, which simply is the stiffness of the spring multiplied by the amount of deformation.
- Here we compute the force vector that we have to apply to the particles, essentially the force that the spring exerts on these tow particles. This force vector is the normalized distance vector (the direction of the force), scaled by the restorative force given by Hooke's Law.
- Lastly we apply the force to the particles, for this we'll give the particles an additional function into which we can pass in a vector and apply it to their velocities. Here we also need to invert one of them to point in the opposite direction, simply by multiplying by negative one.
The applyForce() function looks as follows:
addForce(f) {
    this.velocity.add(f.div(this.mass));
};
Here we also take the mass of the particle into consideration. And that's already pretty much it, here's a complete minimal example (no grid lookup):
In P5's setup function we create N particles and then loop over them connecting each two consecutive particles. At the beginning they might be at random positions on the screen, but the springs will swiftly bring them together.
Damping Factor
You might notice that there's an issue here, the particles will simply not stop wiggling around since the spring can never really reach and stay in it's equilibrium position. We can remedy this with a damping factor that we'll add as a new member variable:
// at the end of the spring's update function
let dampingForce = p5.Vector.mult(p5.Vector.sub(this.particleA.velocity, this.particleB.velocity),this.damping)

this.particleA.addForce(p5.Vector.mult(dampingForce,-1));
this.particleB.addForce(dampingForce);
We essentially create a force that counteracts the velocity of the two particles. In real life this would happen naturally as there's all sorts of friction that would slow down the particles. Here we need to introduce such a behavior manually, slowly dissipating the oscillations over time. The damping factor should only be a small value here, relative to the stiffness of the springs.
Adding in this snippet, we get:
And that's a much smoother behavior now.
Creating a Mesh
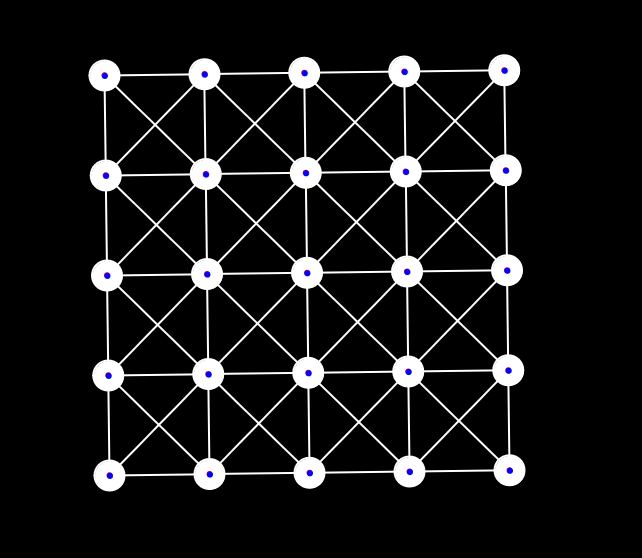
Now we can take this a bit further and create a full fledged mesh with what we have, simply by wiring up the particles with springs. Let's start simple, and say we have four particles, we'd connect each one of them with all other particles:
The diagonal springs need to have a little bit of a longer rest length in comparison to the other springs connecting consecutive particles. Assuming that the springs of all consecutive particles are of the same length, these diagonal springs will be the diagonals of a square, and the formula for their length is the rest length of the shorter springs times the square root of 2. In our case since the shorter springs have a length of 50, then the diagonals have a length of 50*sqrt(2), which is slightly more than 70.
Naturally we can also form a rectangle or any other rectangular shape, and the system will naturally come to a resting position. Here we assign random rest lengths to the connecting springs:
But we don't end up with a pretty square shape like before.
Now let's extend this and make a larger mesh. Again, we don't actually need to modify any parts of the particles or spring class, we just need to wire things up in a grid-like manner. All of this is done in the setup function in which we create the particles and springs:
N_PARTICLES_X = int(random(2,7))
N_PARTICLES_Y = int(random(2,7))

let xspc = (WID-PAD*2)/N_PARTICLES_X
let yspc = (HEI-PAD*2)/N_PARTICLES_Y

let particle_grid = []
for(let x = 0; x < N_PARTICLES_X; x++){
  let column = []
  for(let y = 0; y < N_PARTICLES_Y; y++){
    column.push(new Particle(new createVector(PAD+x*xspc, PAD+y*yspc)))
  }
  particle_grid.push(column)
}

for(let x = 0; x < N_PARTICLES_X-1; x++){
  for(let y = 0; y < N_PARTICLES_Y-1; y++){
    springs.push(new Spring(particle_grid[x][y], particle_grid[x+1][y], 50, .13));
    springs.push(new Spring(particle_grid[x][y], particle_grid[x][y+1], 50, .13));
    springs.push(new Spring(particle_grid[x][y], particle_grid[x+1][y+1], 50*sqrt(2), .13));
    springs.push(new Spring(particle_grid[x][y+1], particle_grid[x+1][y], 50*sqrt(2), .13));
  }
}

for(let y = 0; y < N_PARTICLES_Y-1; y++){
  springs.push(new Spring(particle_grid[N_PARTICLES_X-1][y], particle_grid[N_PARTICLES_X-1][y+1], 50, .13));
}

for(let x = 0; x < N_PARTICLES_X-1; x++){
  springs.push(new Spring(particle_grid[x][N_PARTICLES_Y-1], particle_grid[x+1][N_PARTICLES_Y-1], 50, .13));
}

for(let x = 0; x < N_PARTICLES_X; x++){
  for(let y = 0; y < N_PARTICLES_Y; y++){
    particles.push(particle_grid[x][y])
  }
}
This looks complicated, but it's actually very straightforward. We instantiate the initial positions of the particles in the shape of a grid on the canvas, depending on the number of particles that we want to have vertically and horizontally and store them in a 2D array.
Then we loop over this array and wire up the particles, connecting each particle with it's right neighbor, bottom neighbor and the particle to the bottom right of it. The bottom particle is also connected to it's top right neighbor. We do this for all particles except those in the last row and column as they don't have these neighbors. For these we need an extra loop to connect them. Lastly we simply copy over the particles into the simple array that we use to iterate over the particles in the draw loop. We don't need the 2D array anymore. And that's pretty much it, now we can see various types of meshes emerge:
I had to minify the code for the snippet to work, but you can simply copy it over into the p5 editor or OpenProcessing and auto-format the code to play with it.
Mouse-drag for Particles
Let's also quickly add in the ability to drag particles with the mouse and see how the meshes behave in that scenario - for this we need two flags and also need to modify p5's inbuilt mouse listeners:
function mousePressed() {
  for (let p of particles) {
    let distance = dist(mouseX, mouseY, p.pos.x, p.pos.y);
    if (distance <= p.radius) {
      dragging = true;
      dragParticle = p;
      break; // Stop checking the rest of the particles
    }
  }
}

function mouseDragged() {
  if (dragging && dragParticle) {
    dragParticle.pos.x = mouseX;
    dragParticle.pos.y = mouseY;
  }
}

function mouseReleased() {
  dragging = false;
  dragParticle = null;
}
There's probably a better way to do this, but sufficient for now:
Closing Thoughts
It kind of blows my mind that with relatively little such an interesting system emerges. The beauty of emergence: the mesh doesn't really know that it exists, it's simply the particles and springs working in tandem to create this intricate and dynamic structure.
I think this is a good point to end this, a next step might be to take this into 3D, or creating more complex mesh-like structures with springs, and combining them with other attractive forces, etc.
As always, I hope you enjoyed this post, I definitely had a lot of fun writing it. If you did, consider sharing it on your socials, or signing up to the newsletter to get updates whenever new content is posted on the blog. It helps a lot! Otherwise, cheers and happy sketching ~ Gorilla Sun 🌸